Mark making

Making Marks with Wax Resist I

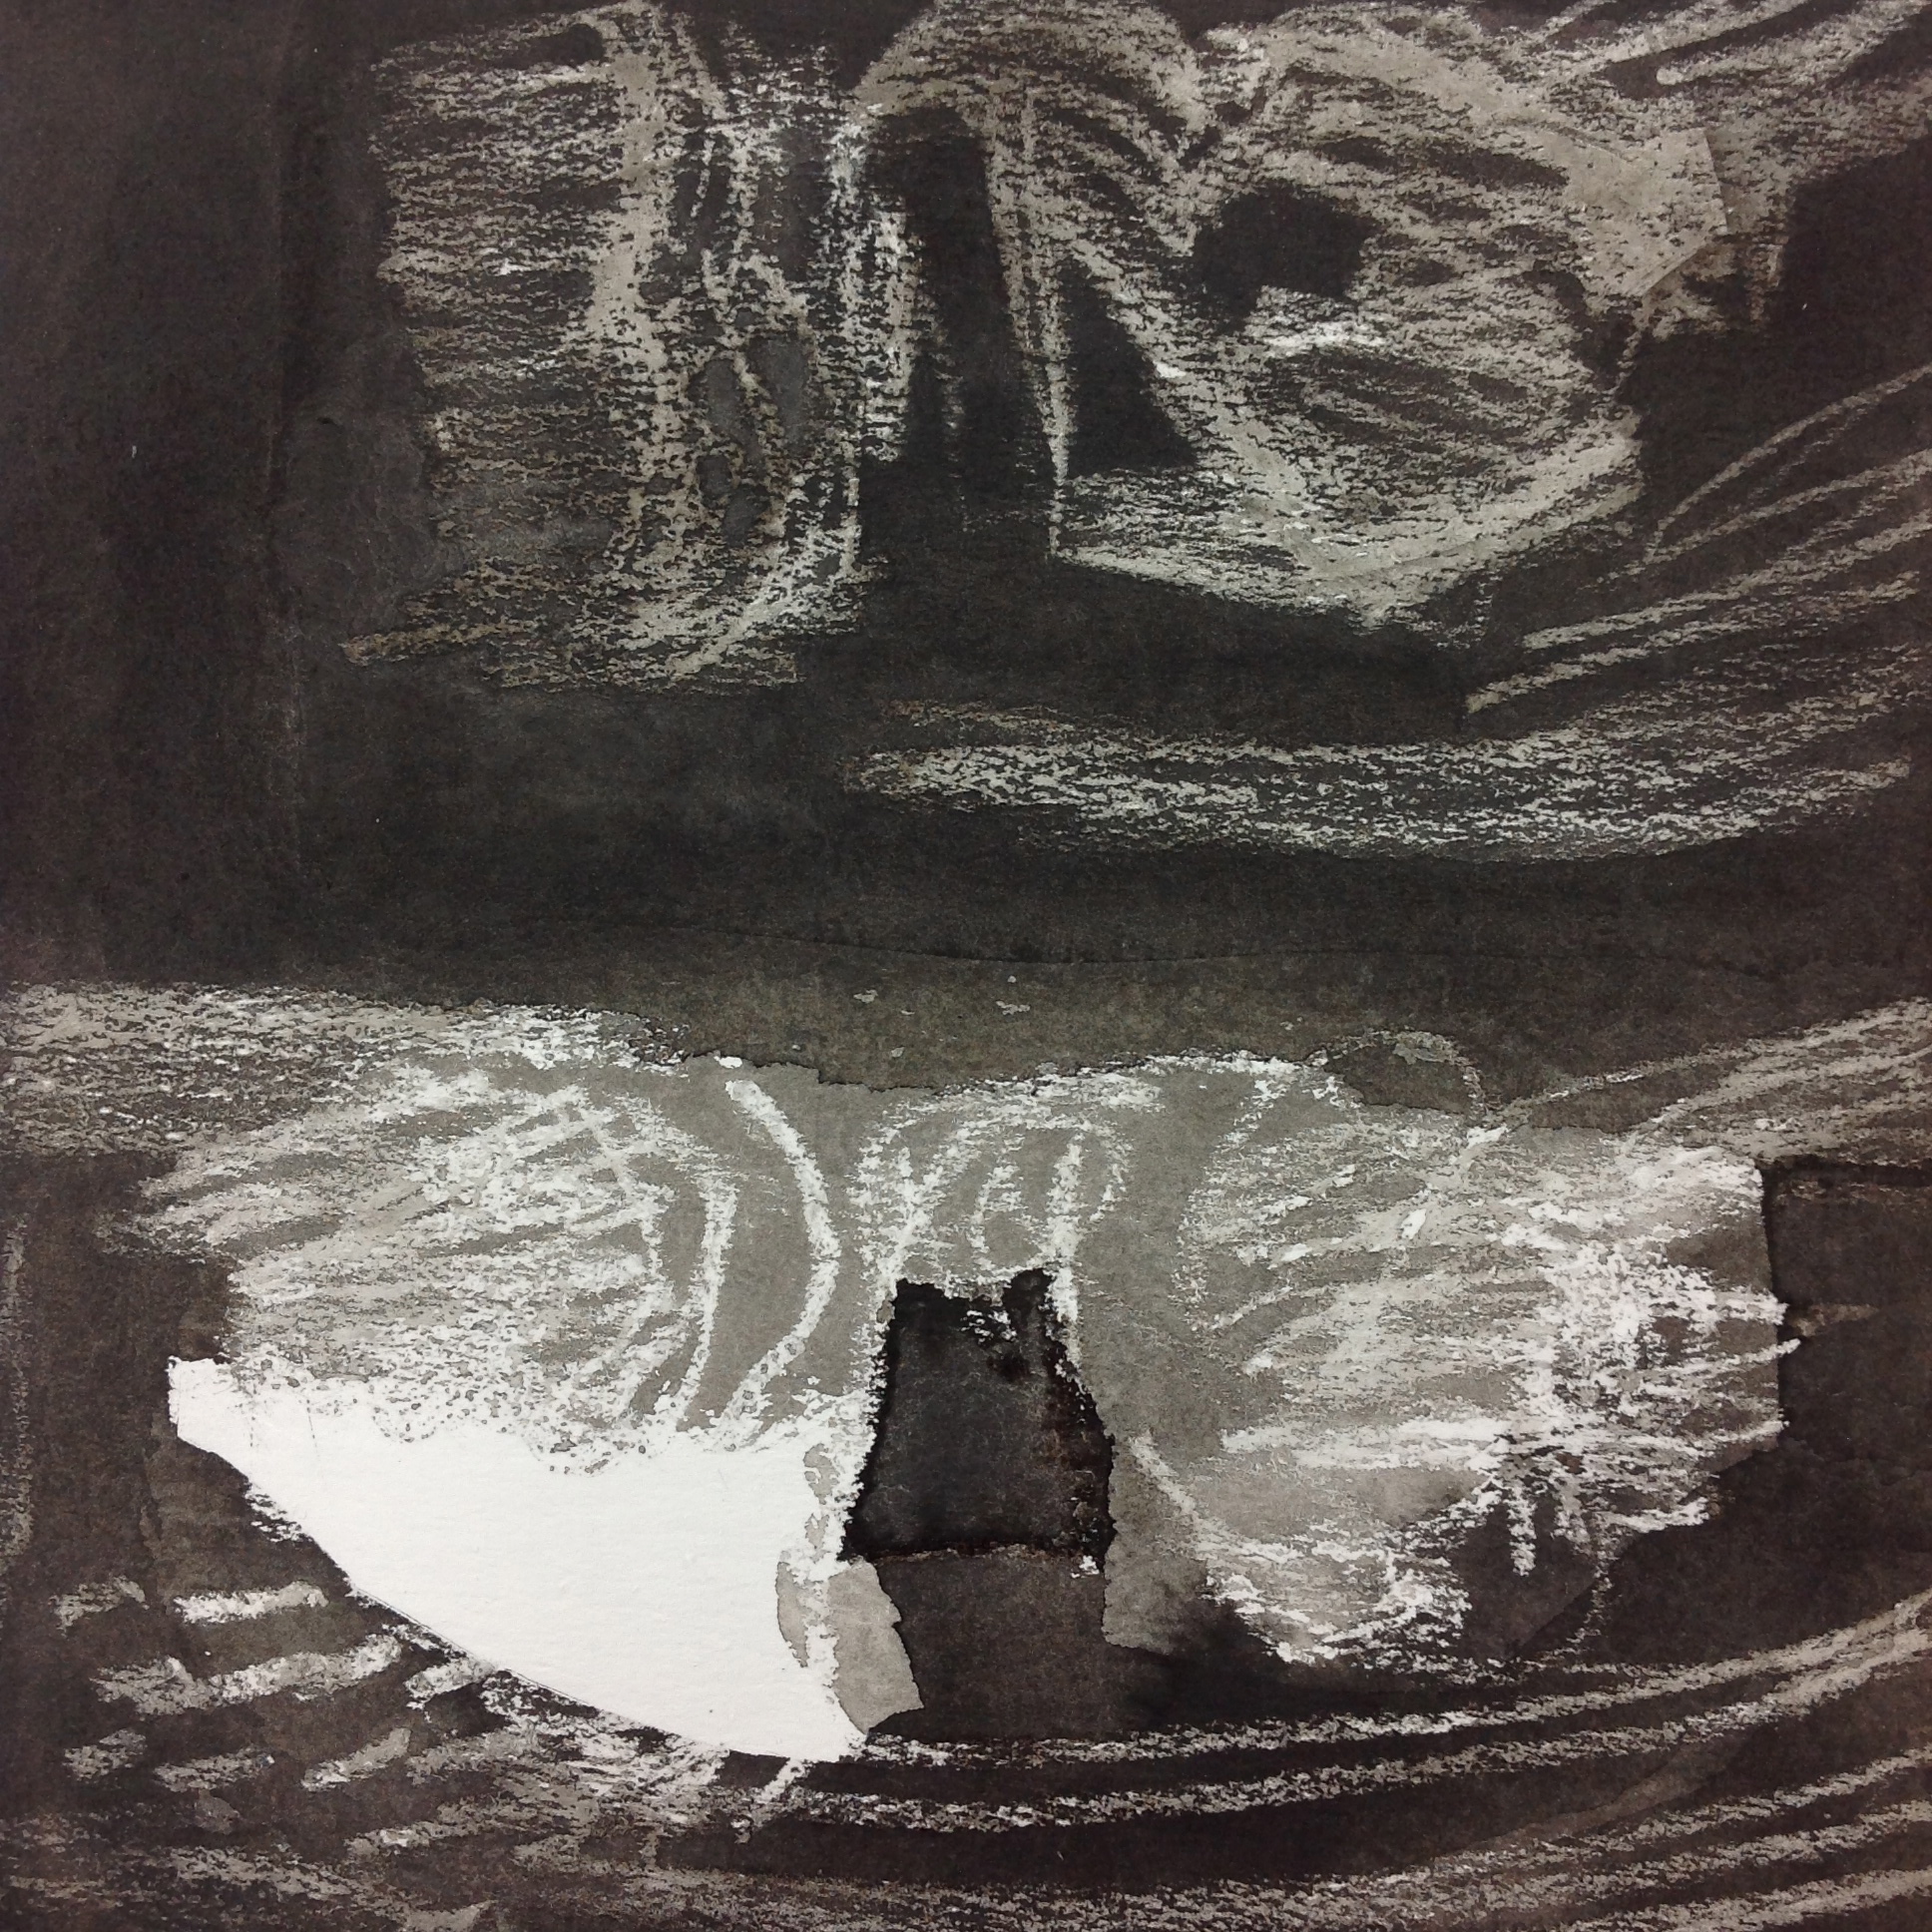
I spent the entire day in the studio today experimenting with the wax resist process. I used "Susan Scheewe Wax Resist Sticks" that are a clear wax crayon. I purchased these a few years ago at Michaels. I also used a product by  "Sennelier oil pastel" called a transparent medium, also in stick form. As well I used a candle, which yields good results. 

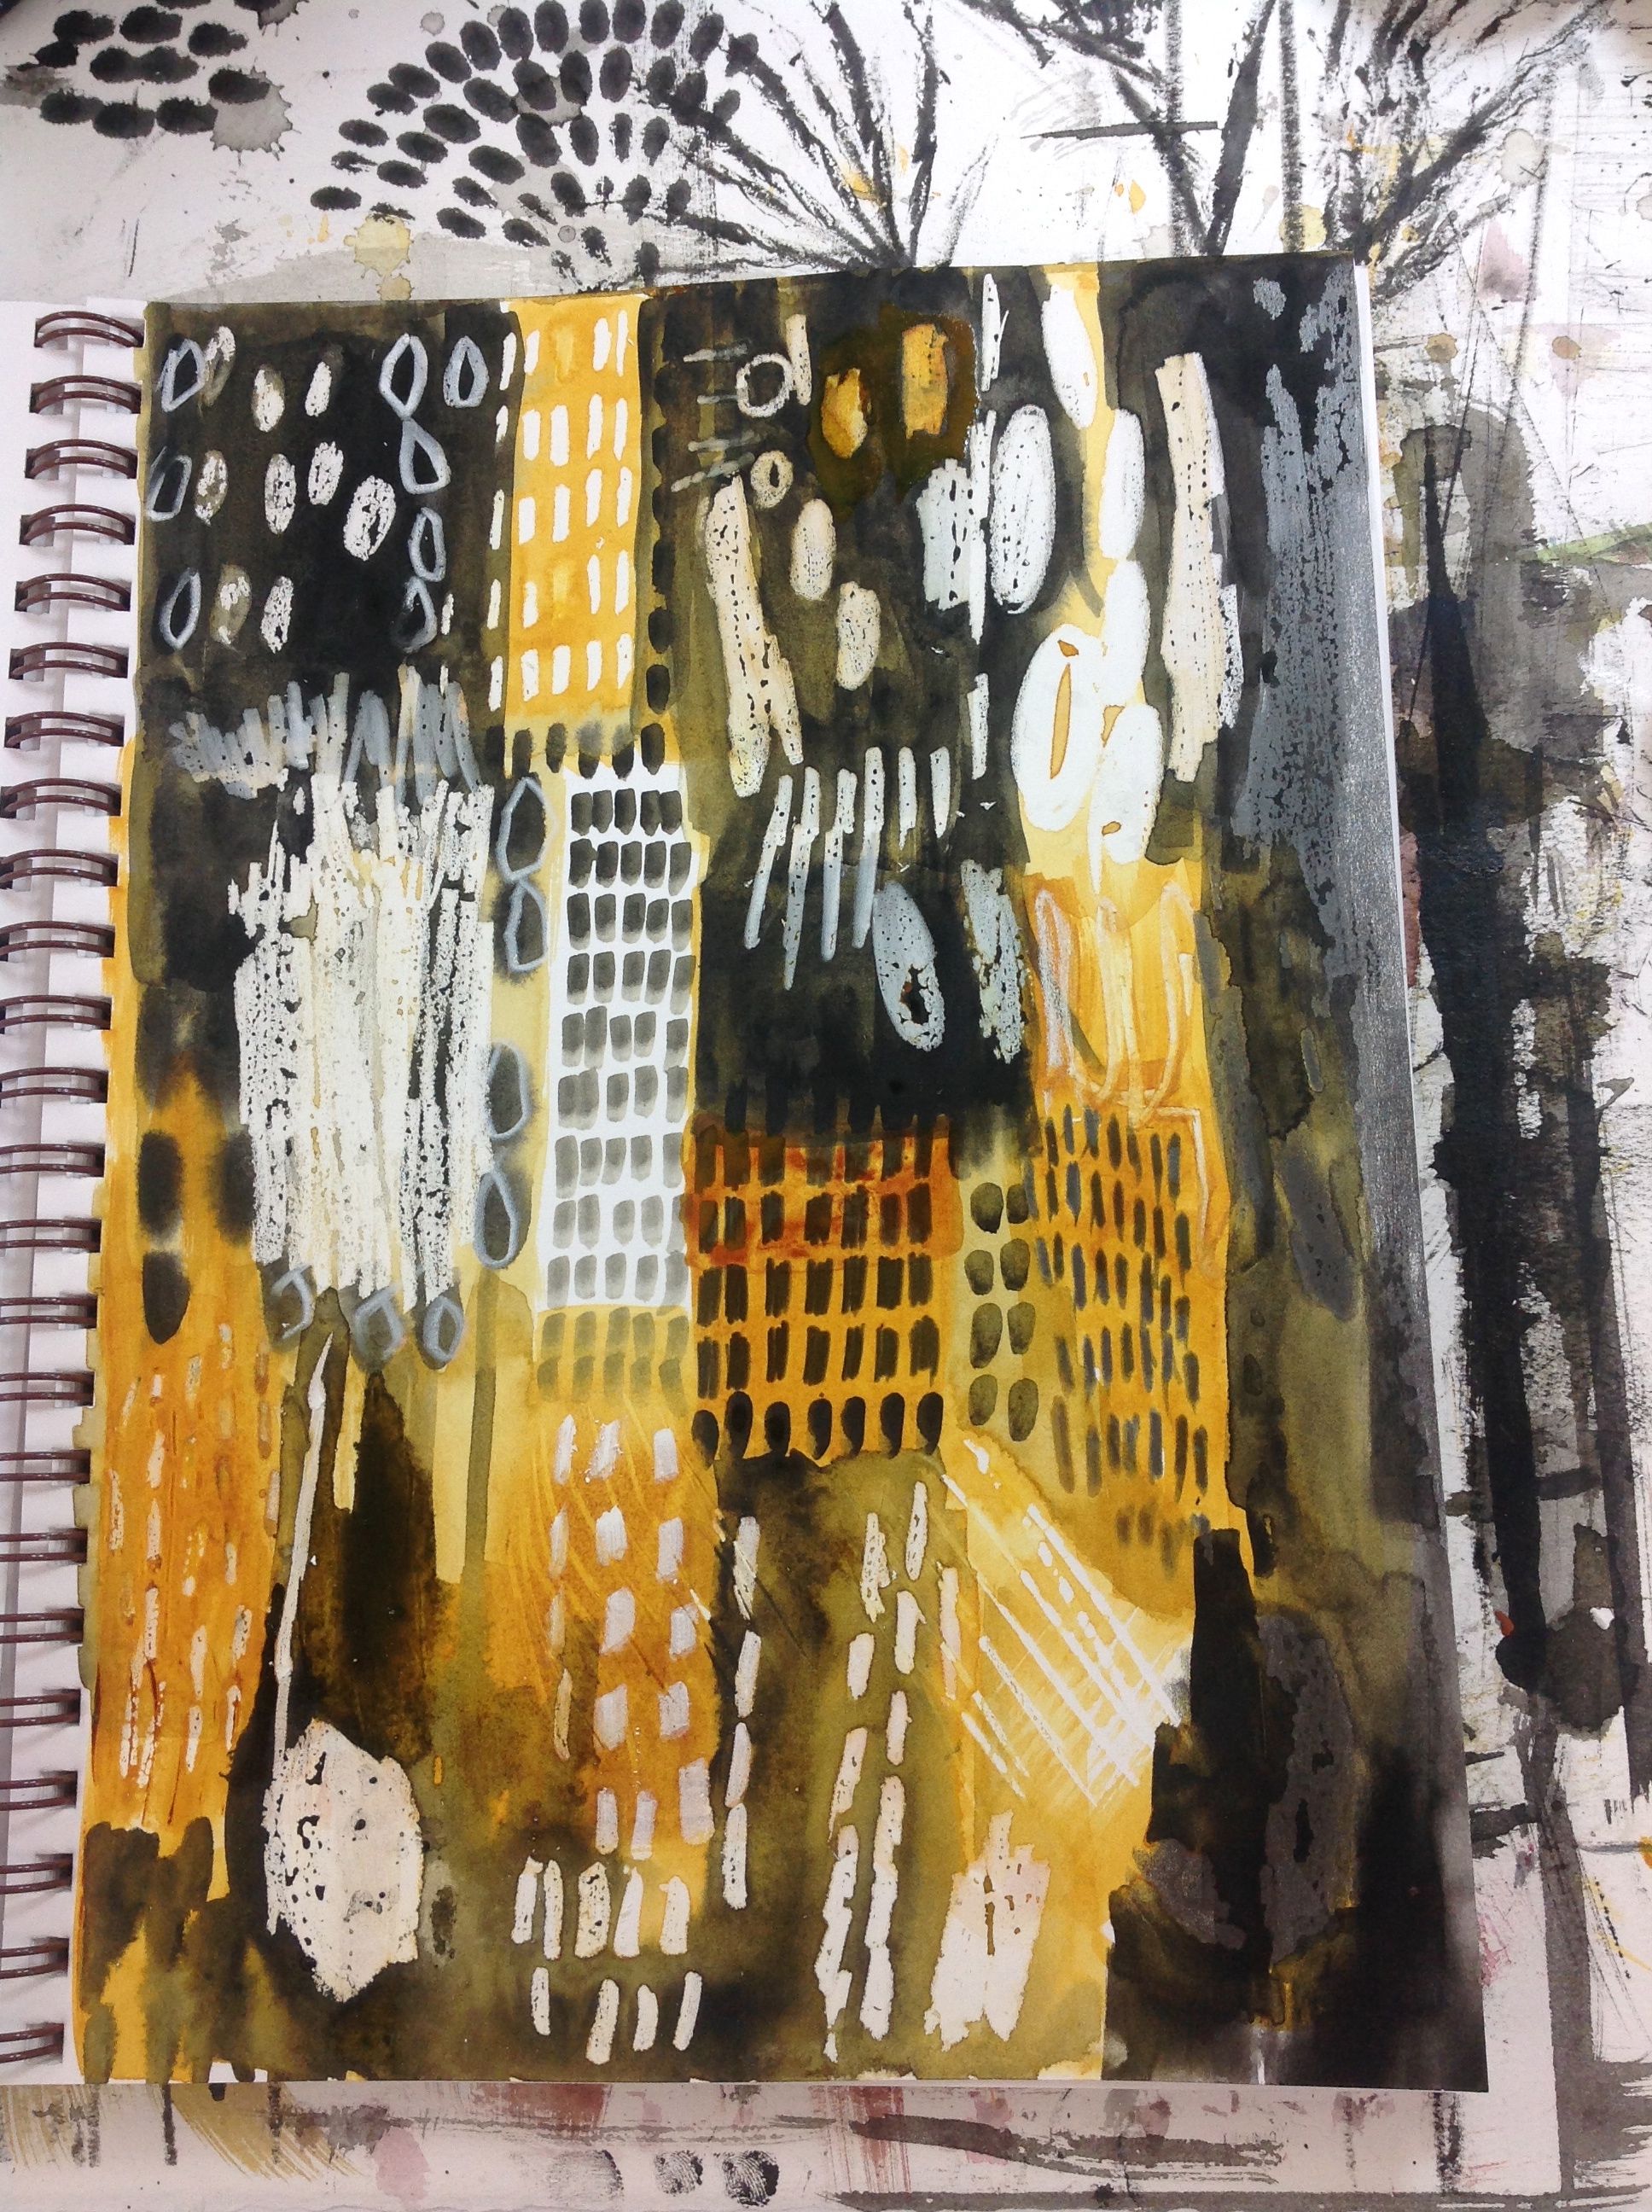
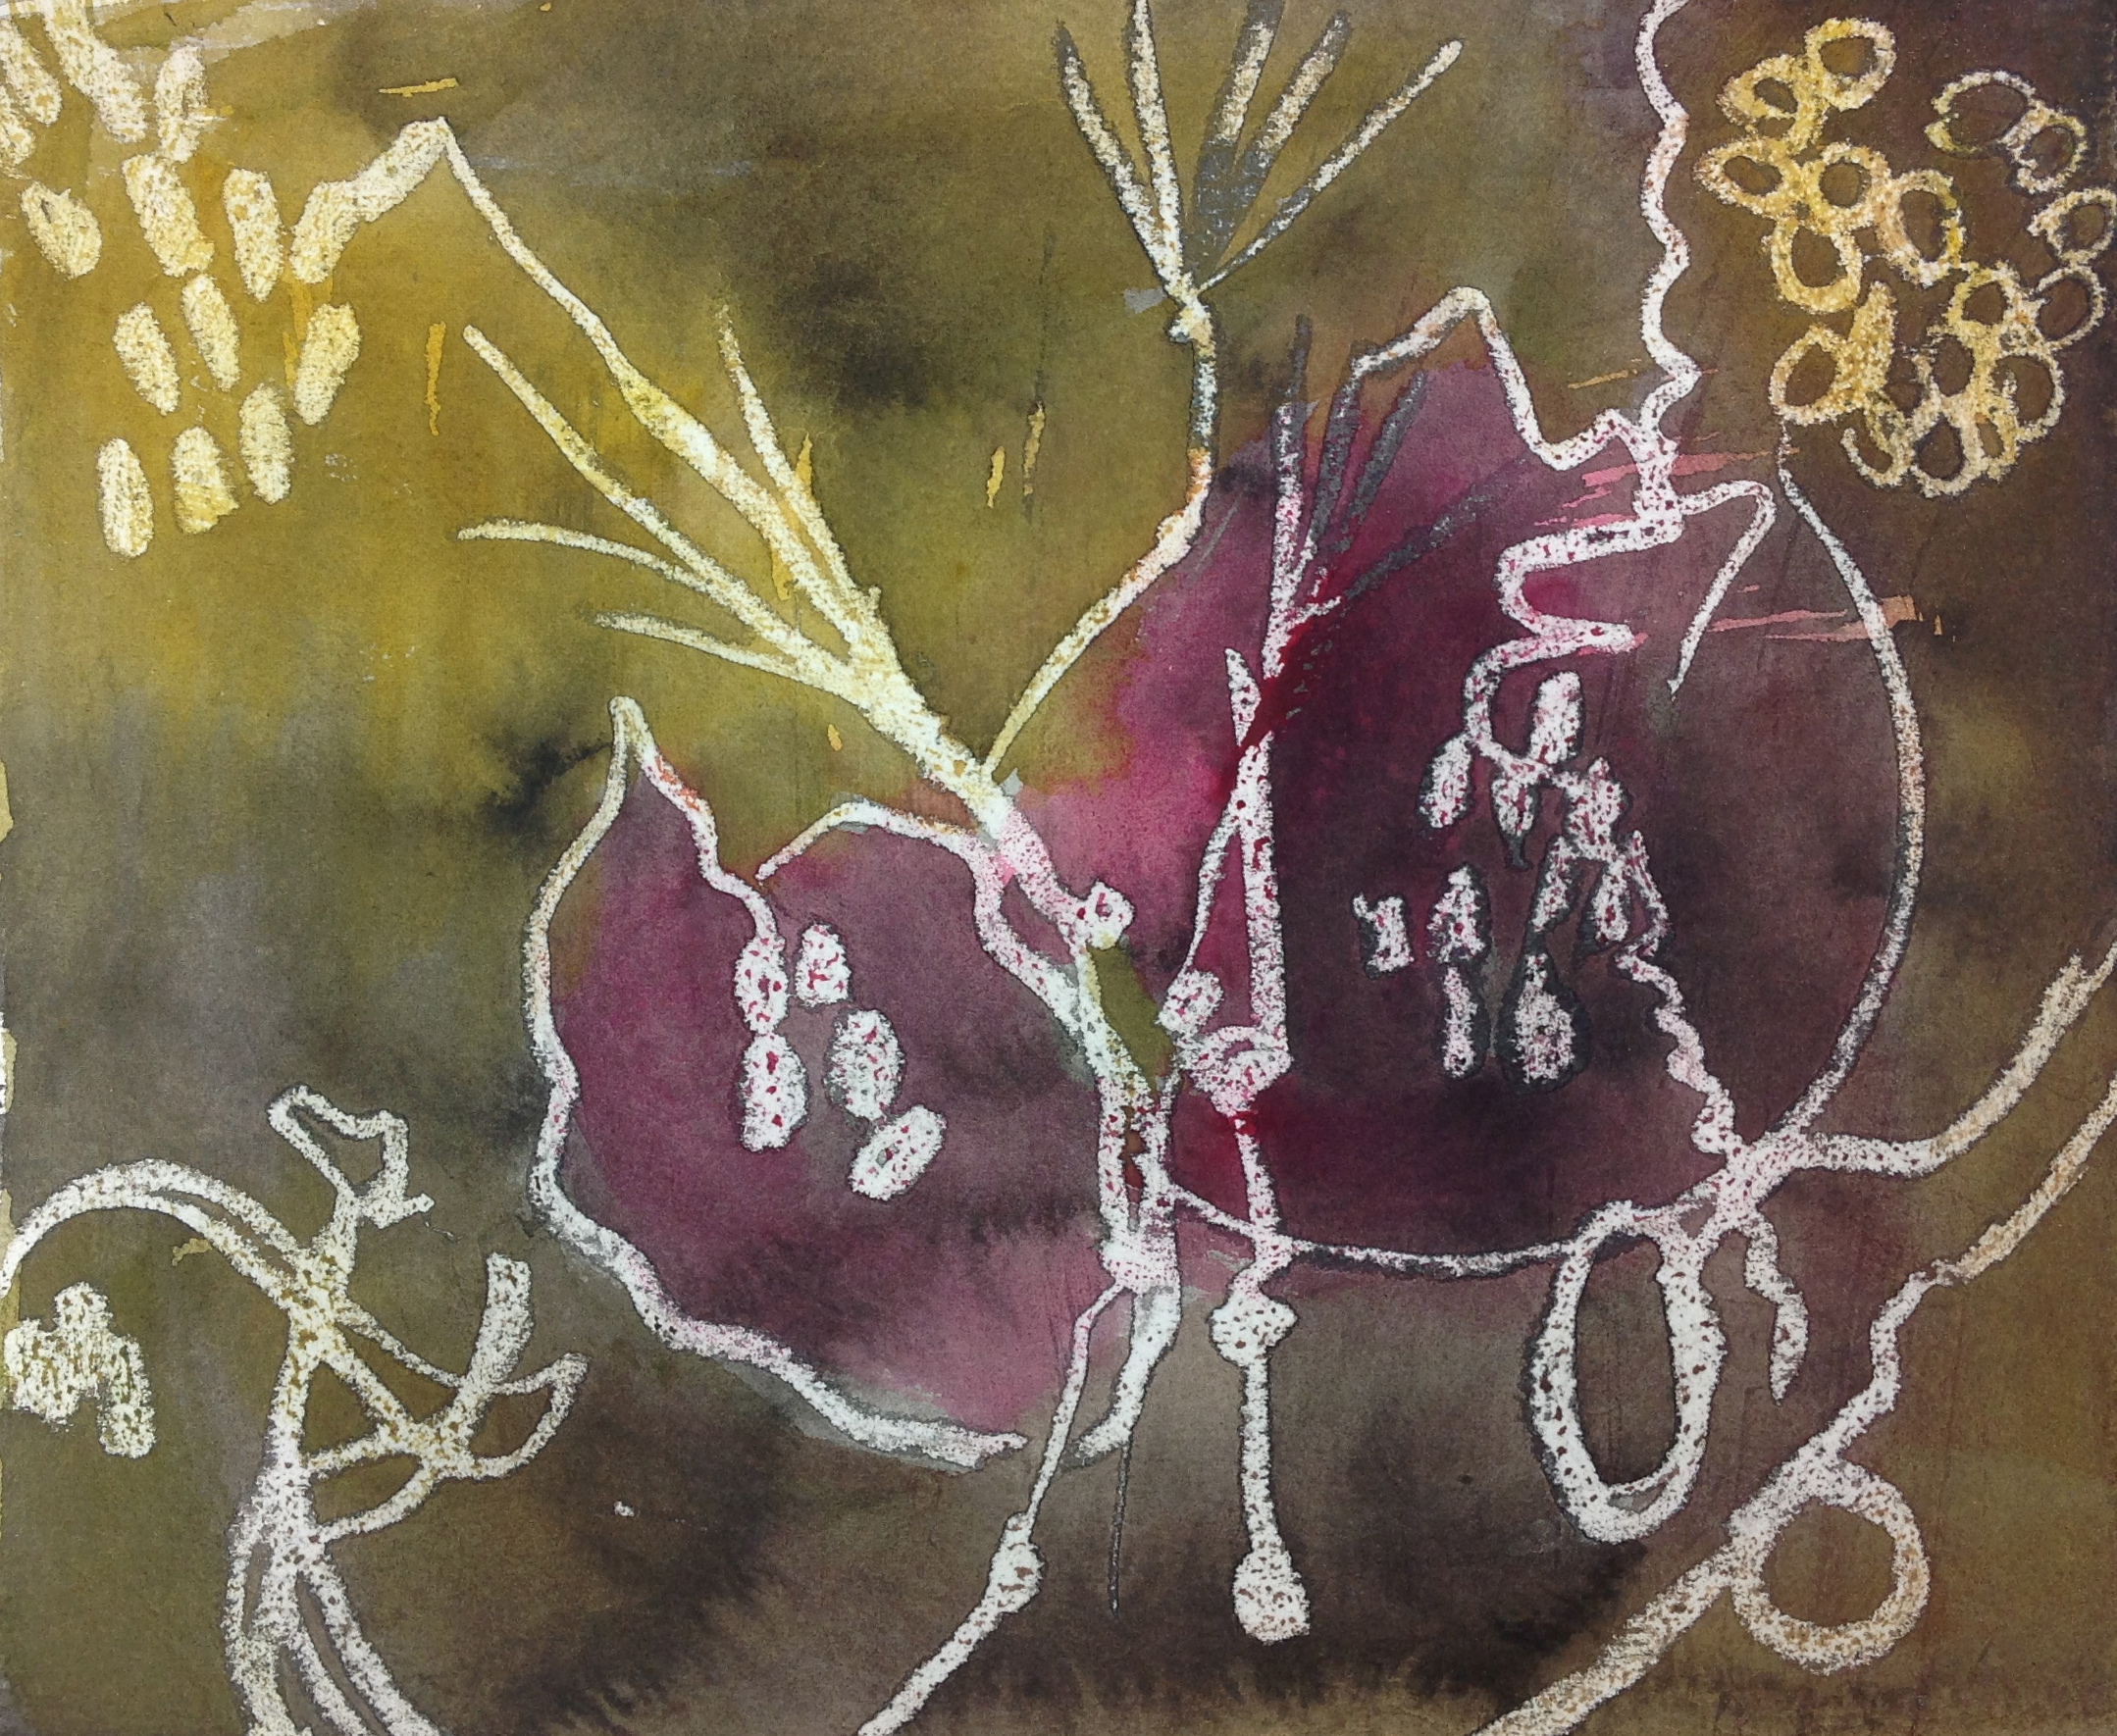
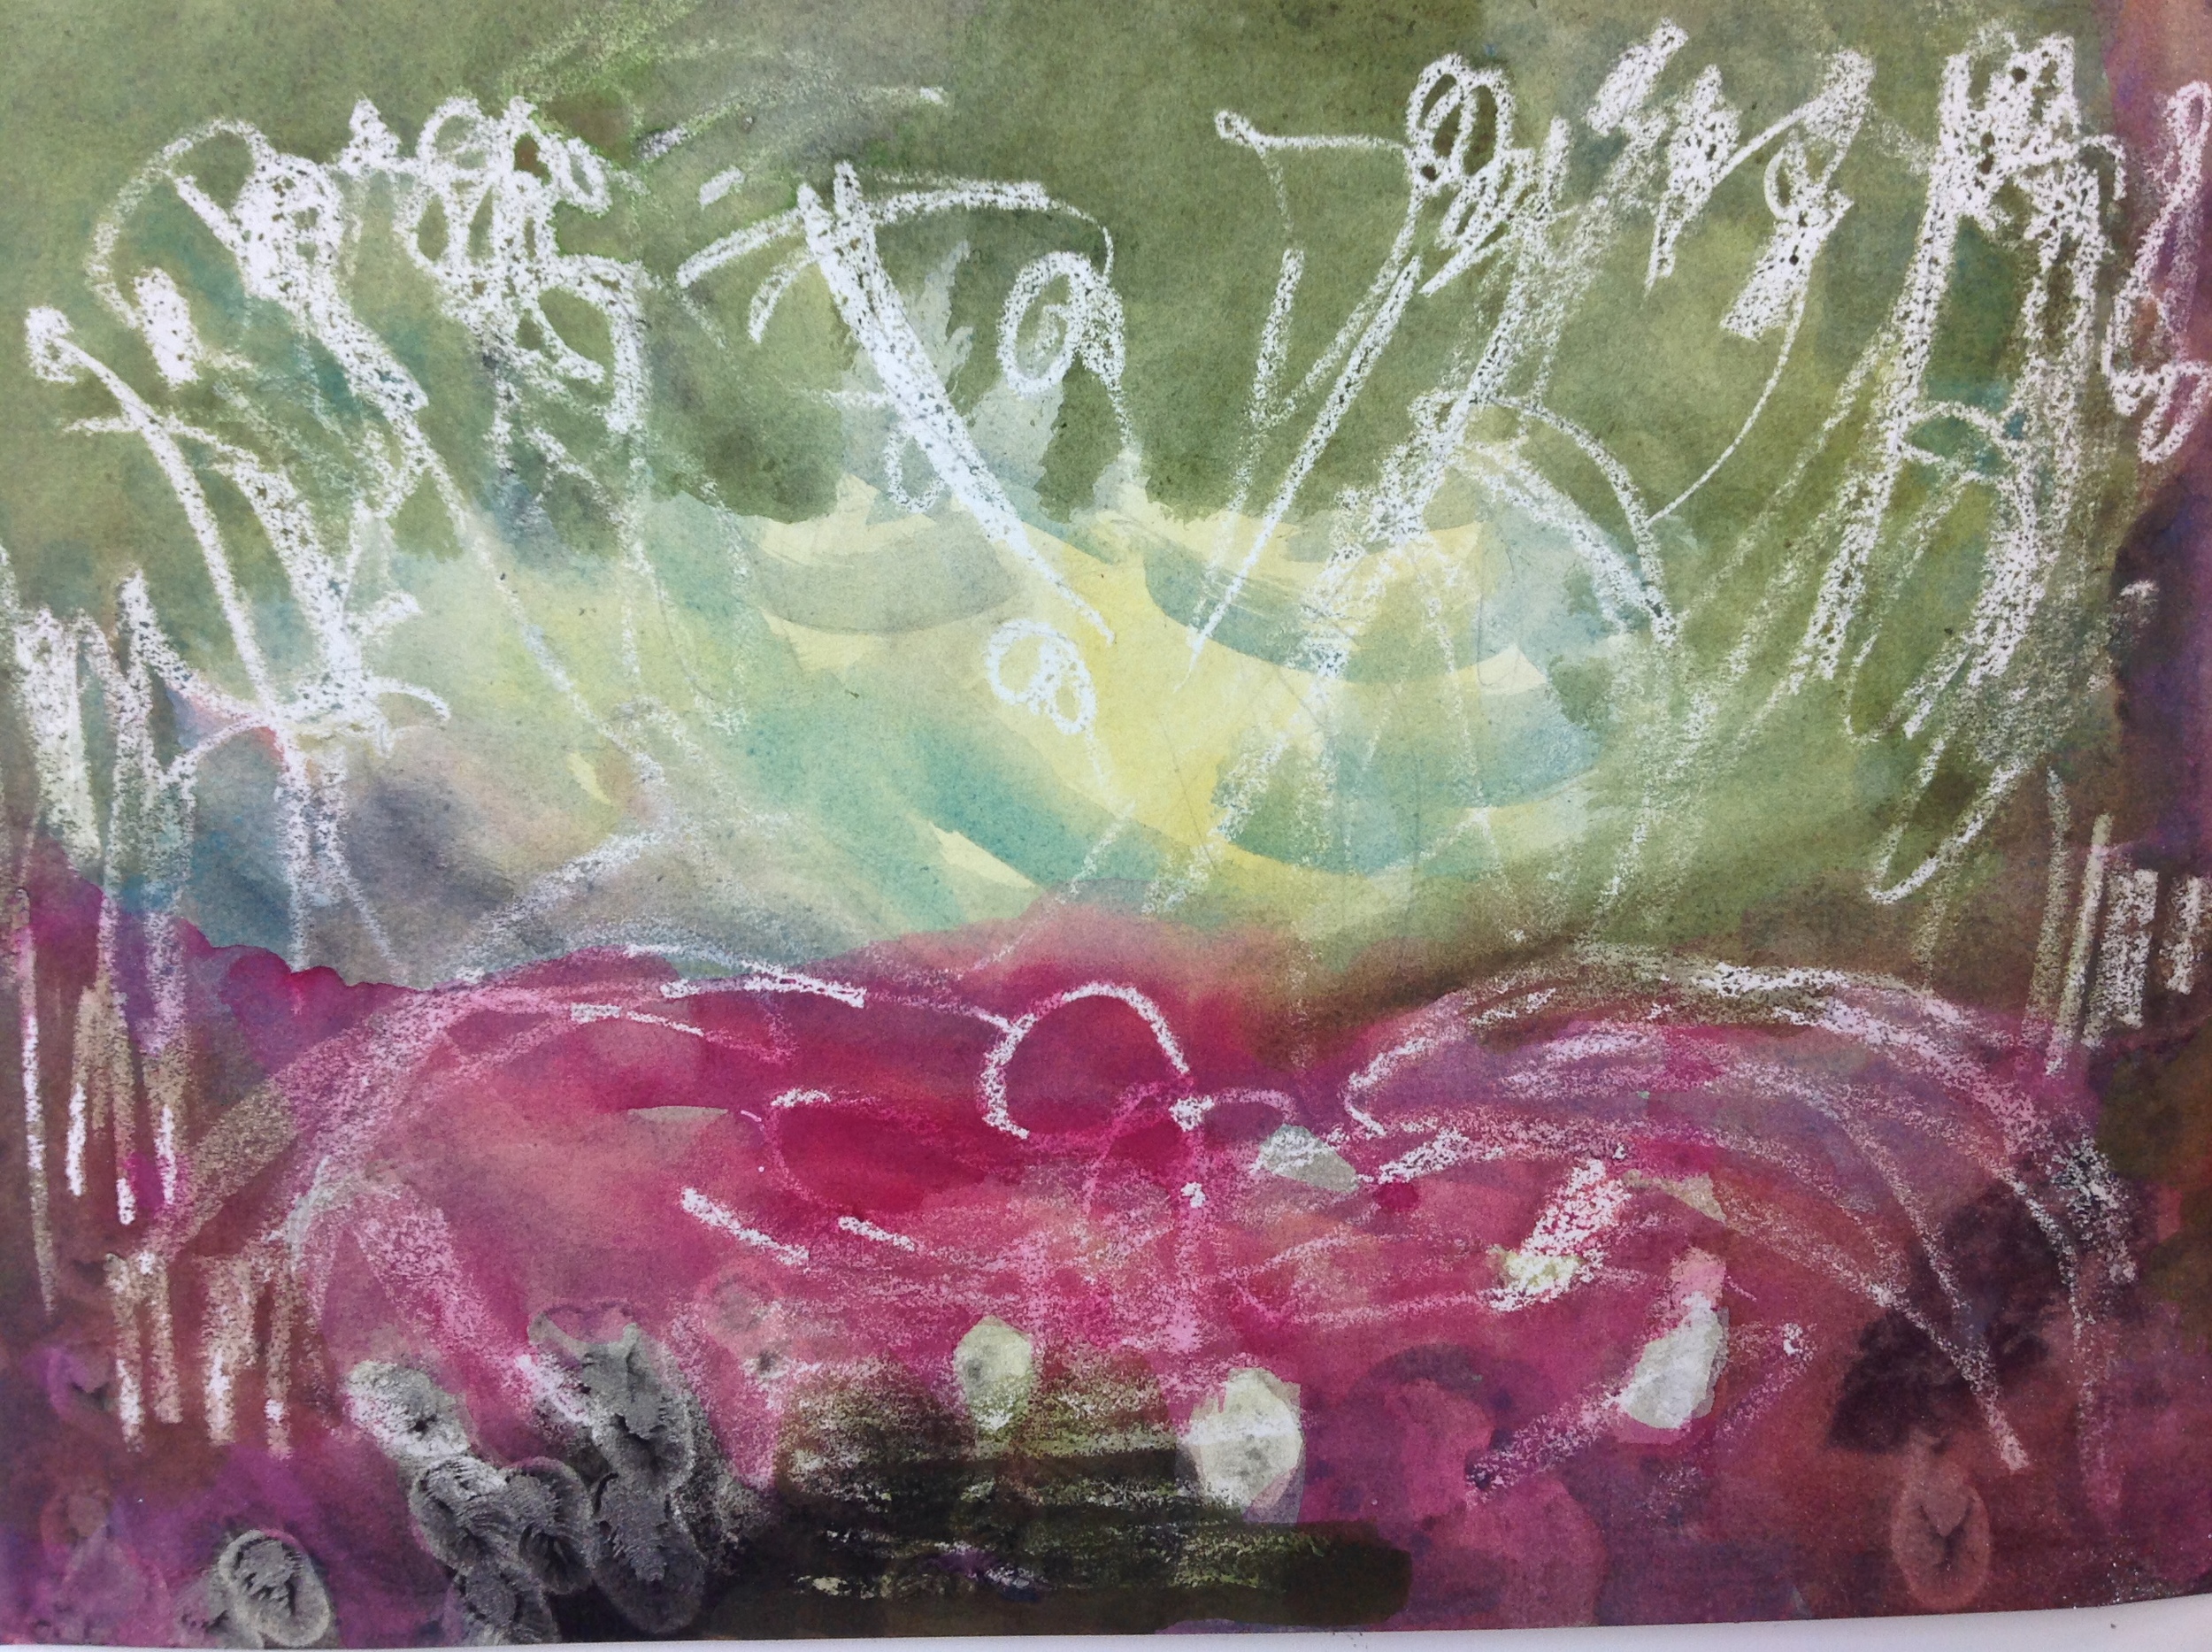
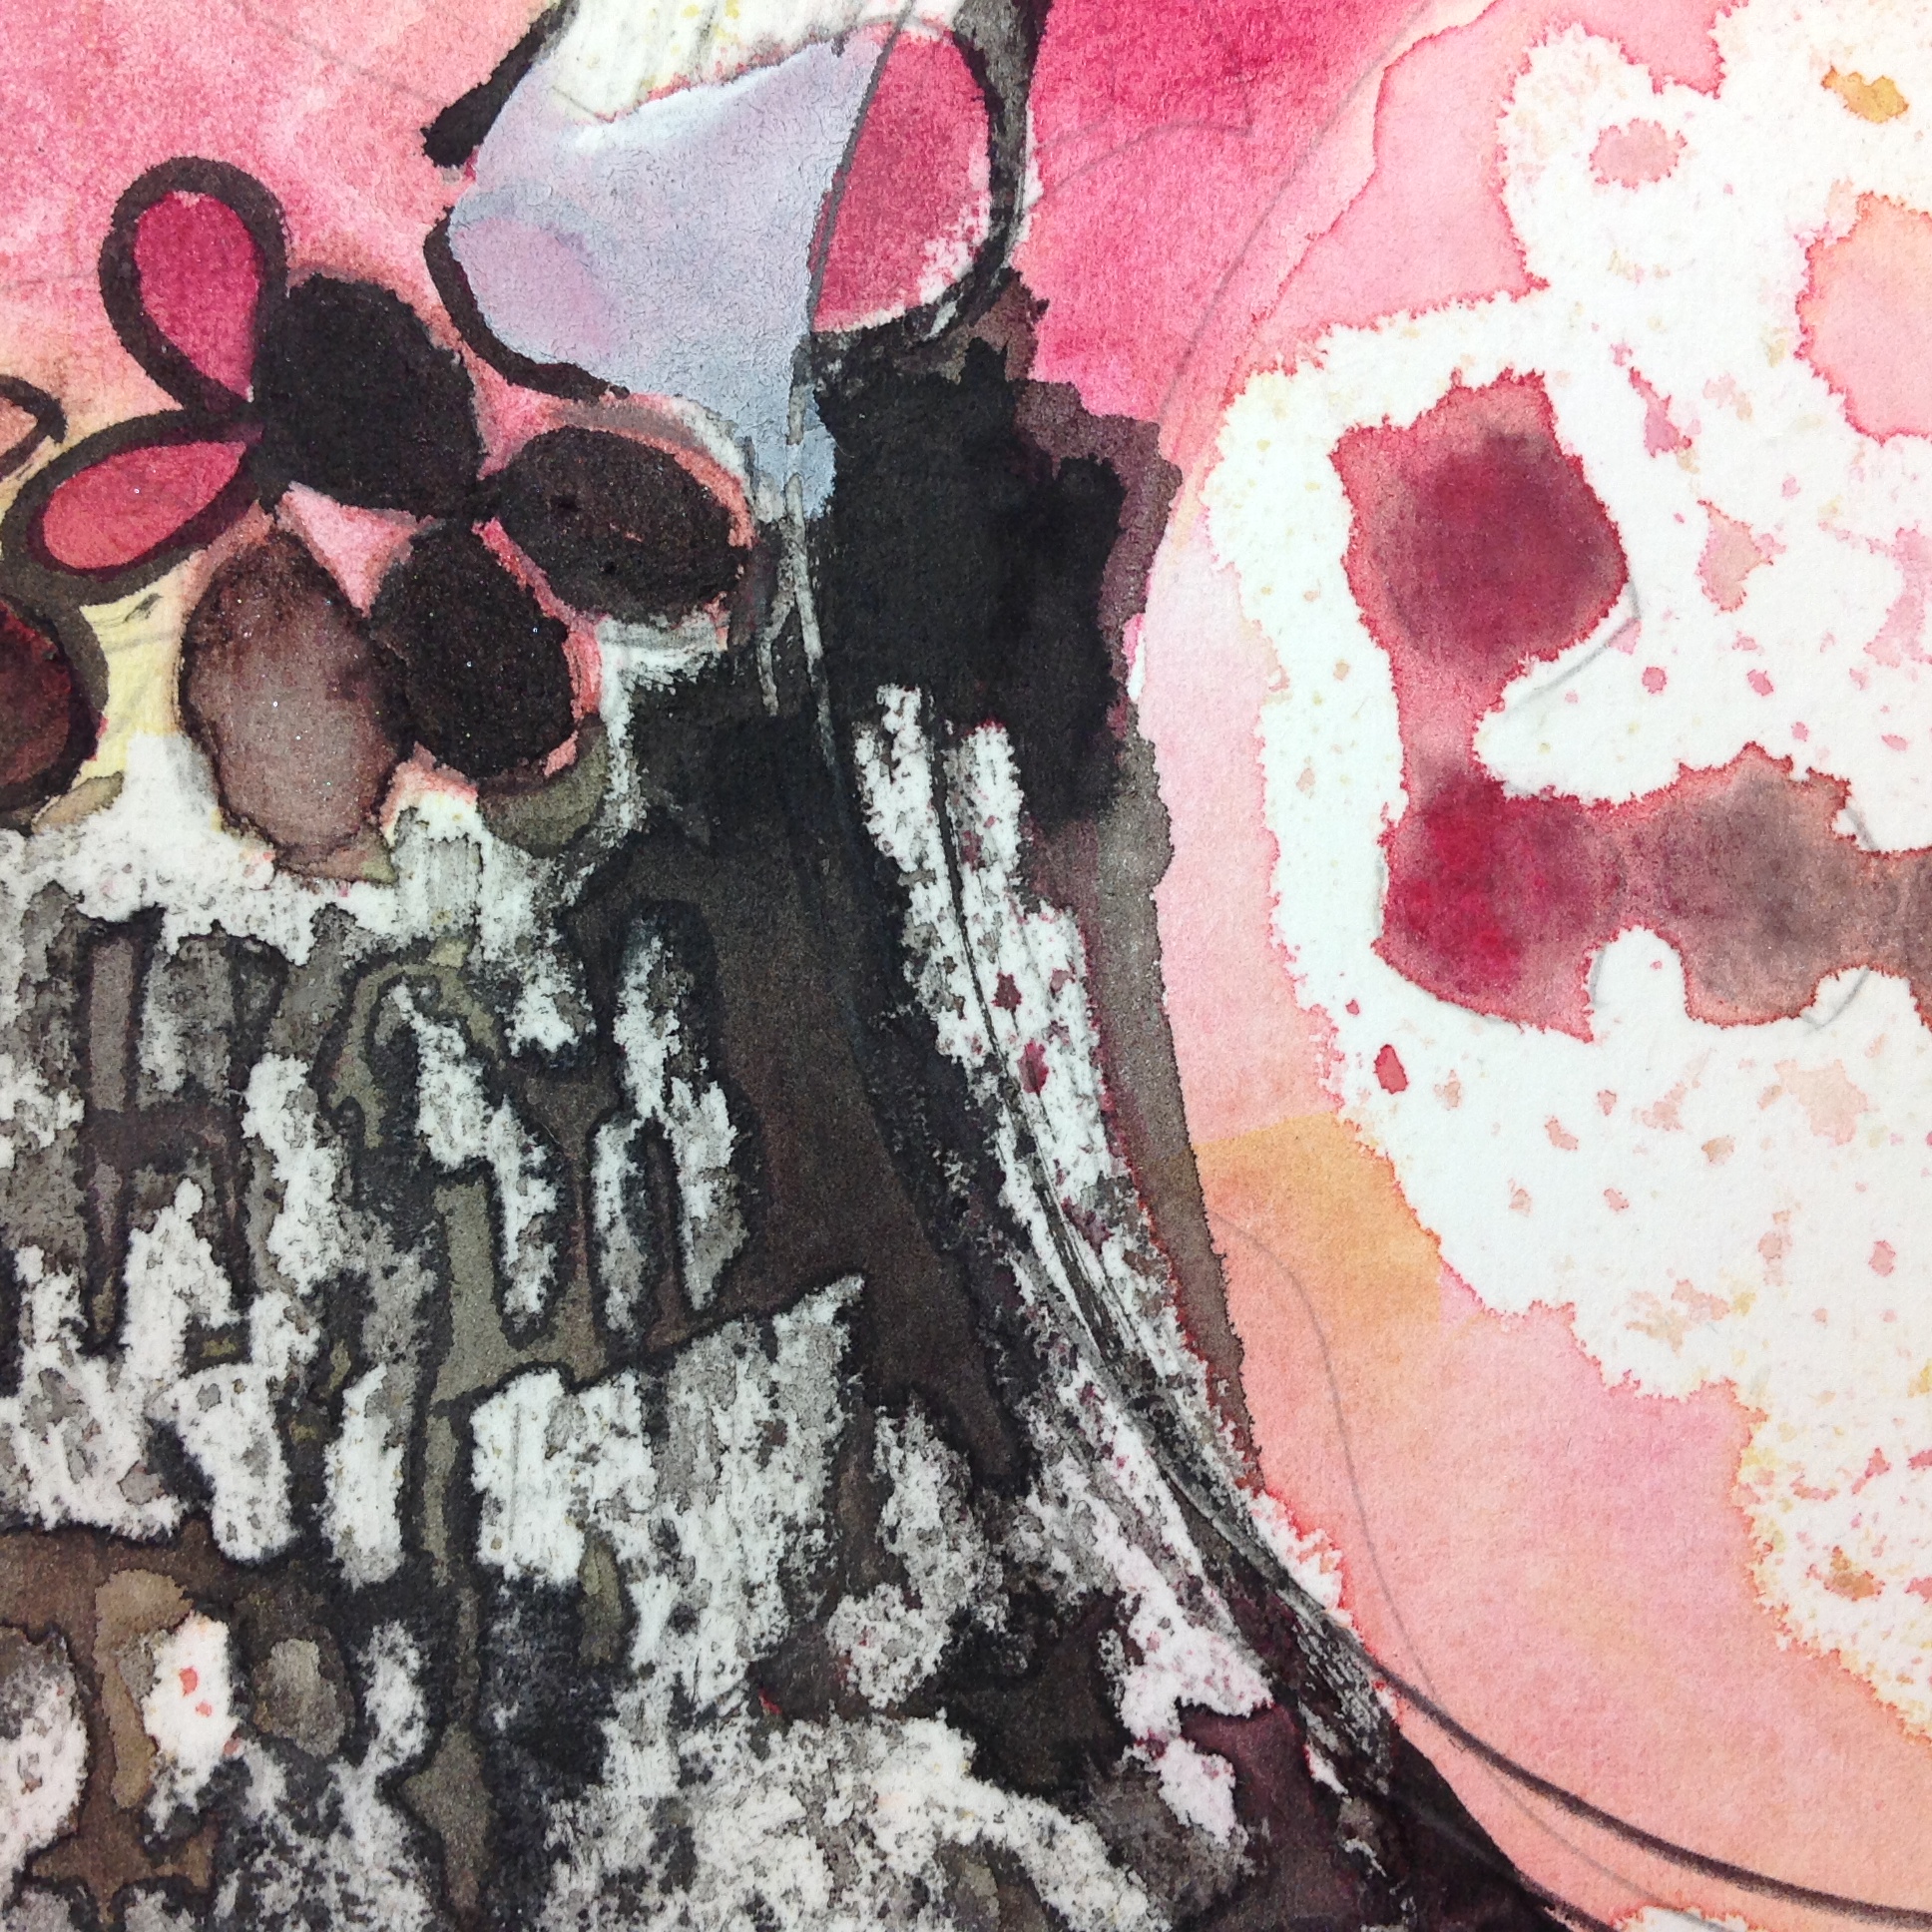
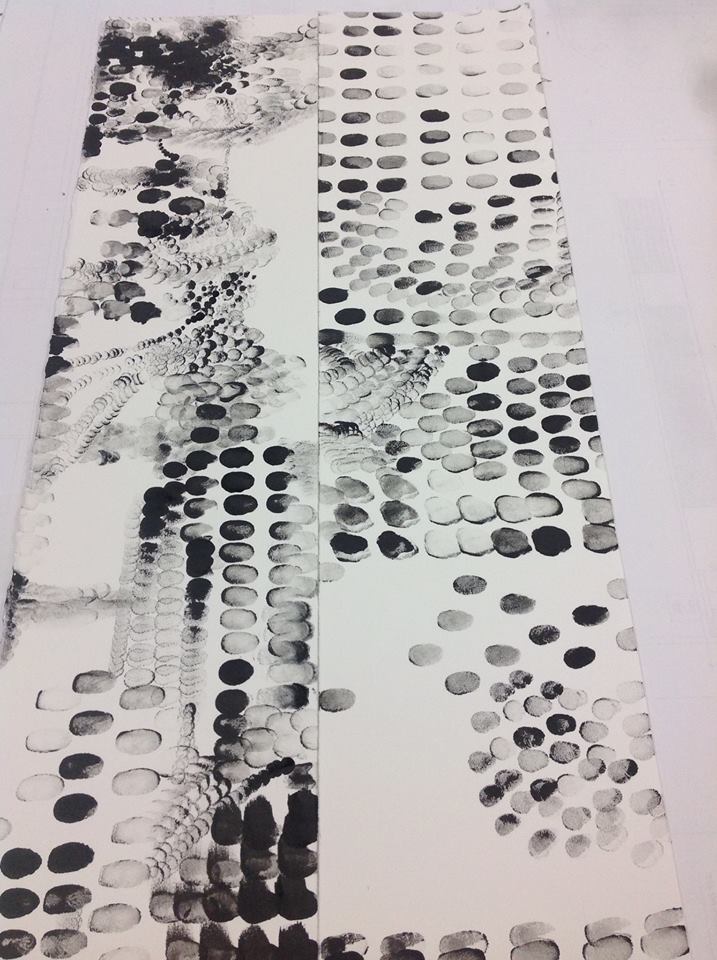
I had to exert quite a bit of pressure with the clear wax crayon so that once I put an ink wash on top it would stand out -- otherwise it was too weak of a contrast and hard to see. I had excellent results with the "Sennelier" transparent stick. The downfall with it this product is that it is quite soft and leaves little chunks behind, which can be quite messy. So you have to be mindful to clean up immediately. I could mash this a bit into my finger tips and then impress my finger pads onto the paper to create different marks. I tried cheap oil pastels in colour but found the ink would cover it up or be absorbed into it. 

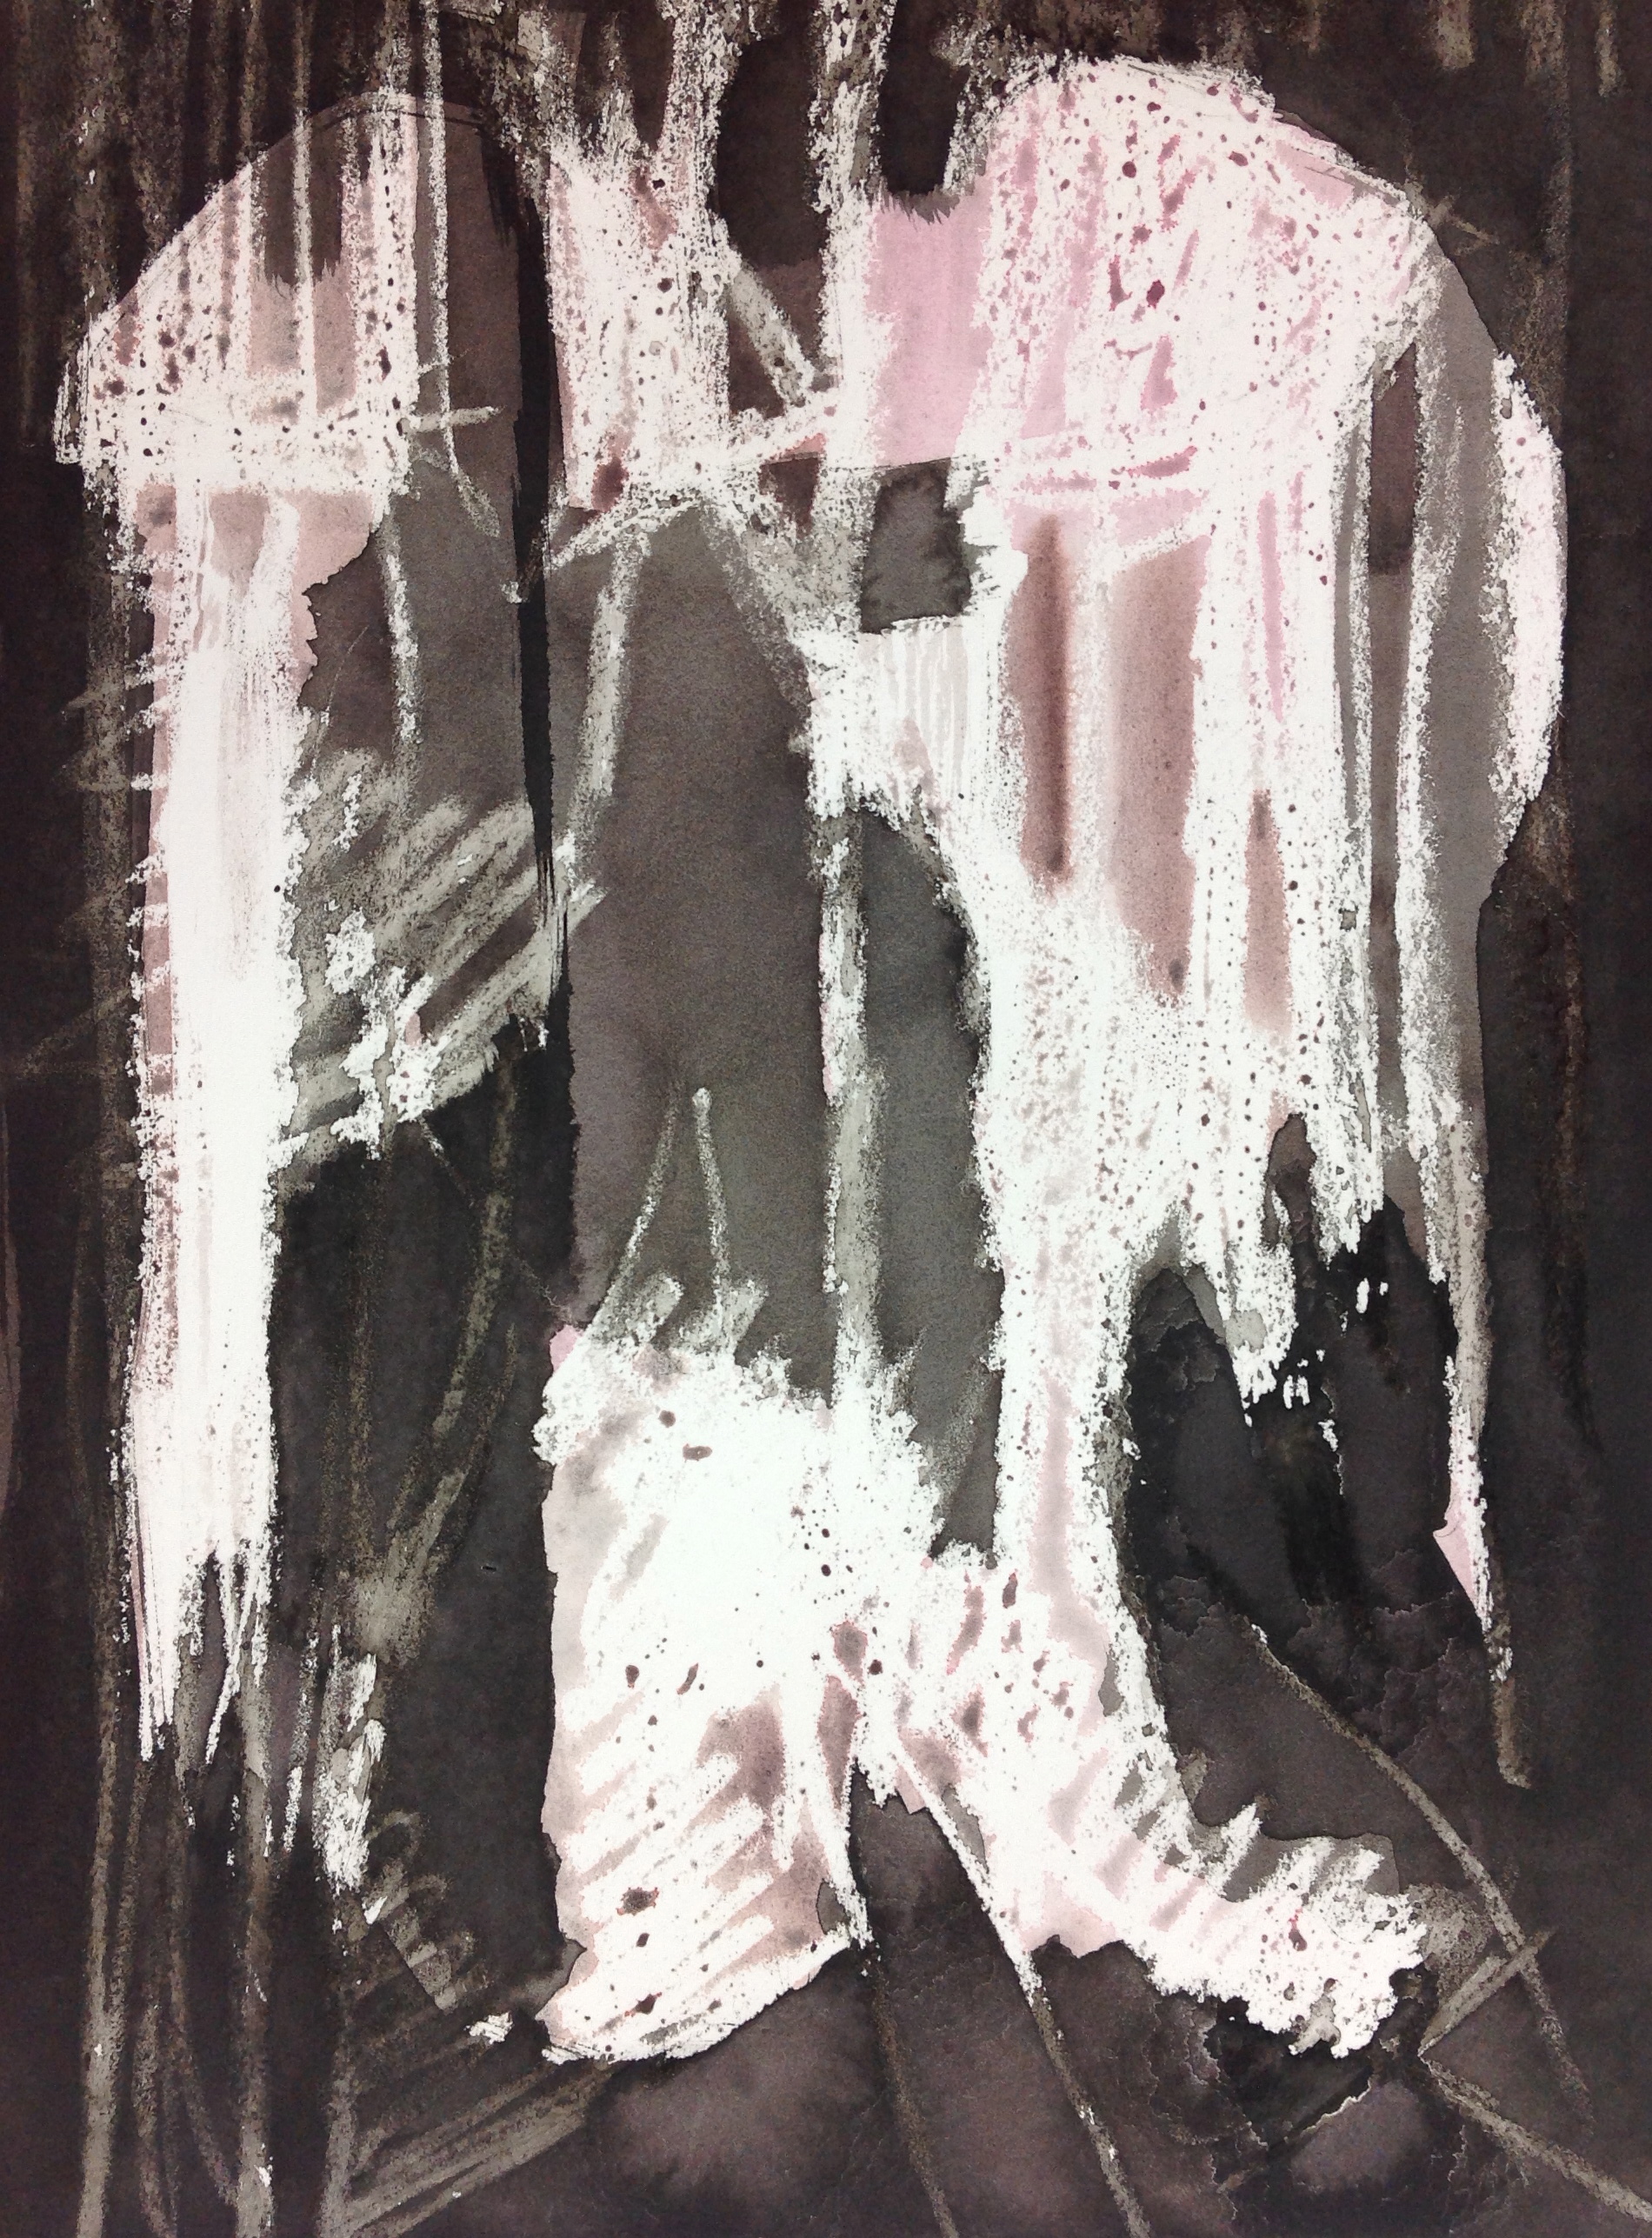
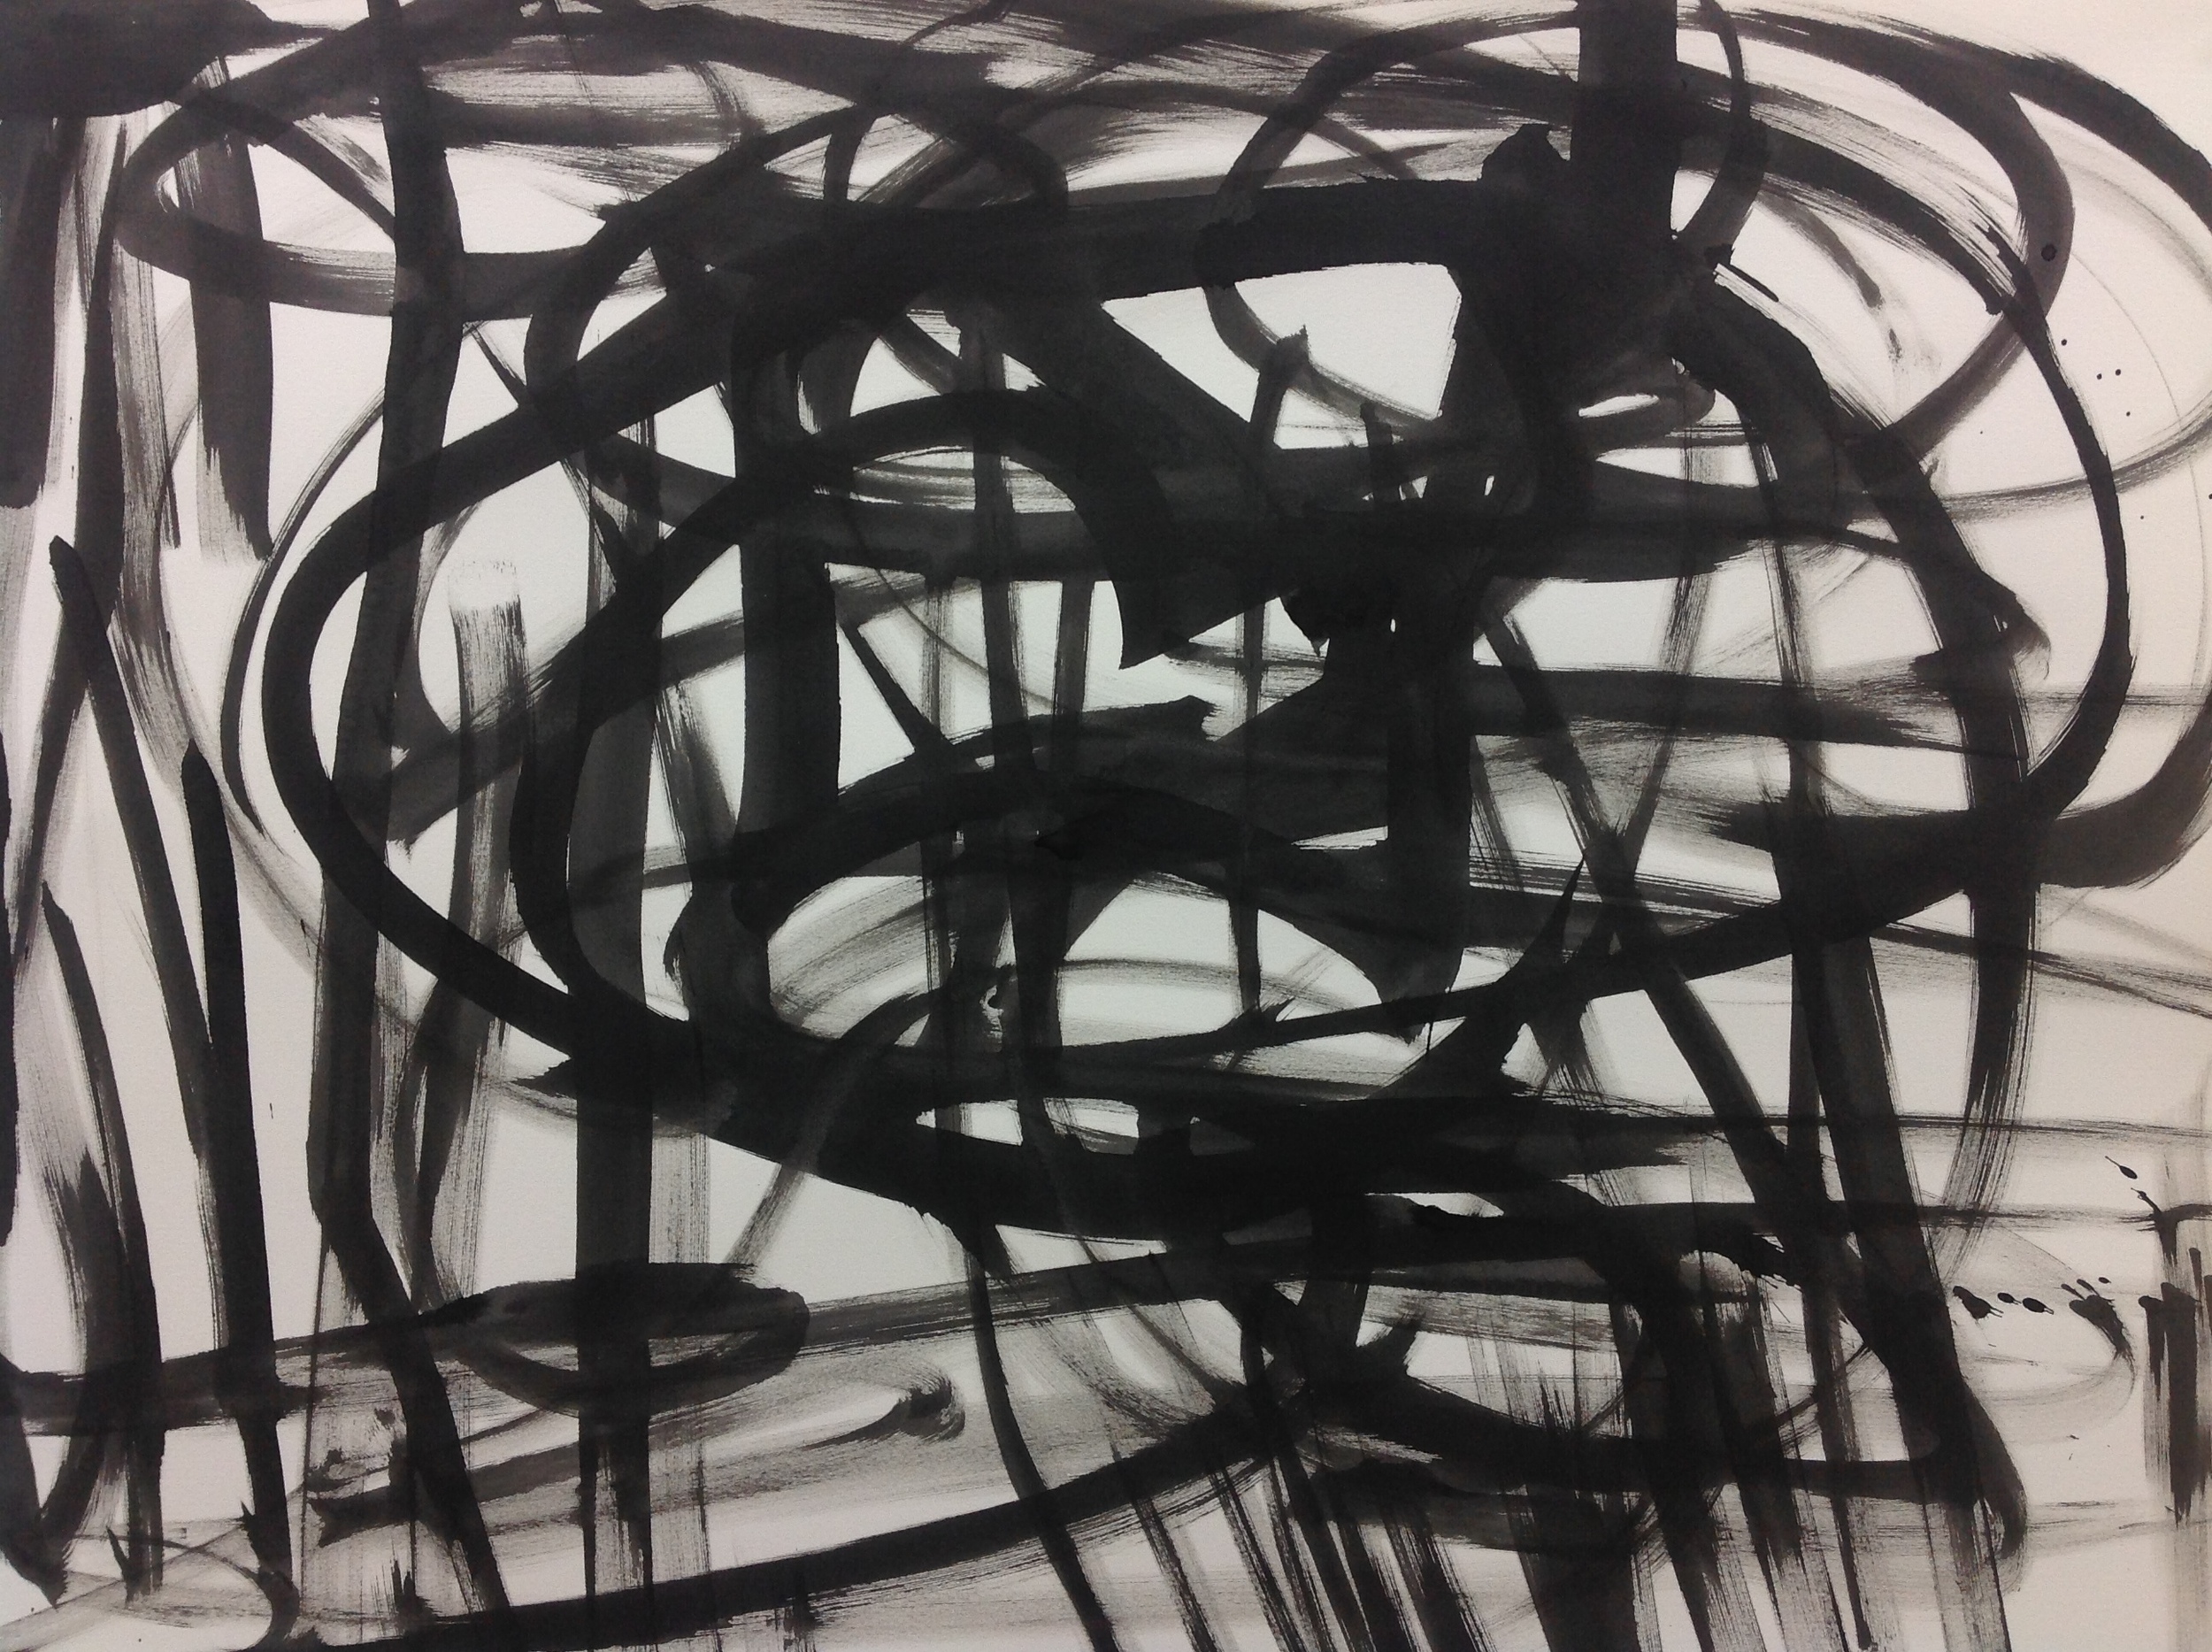
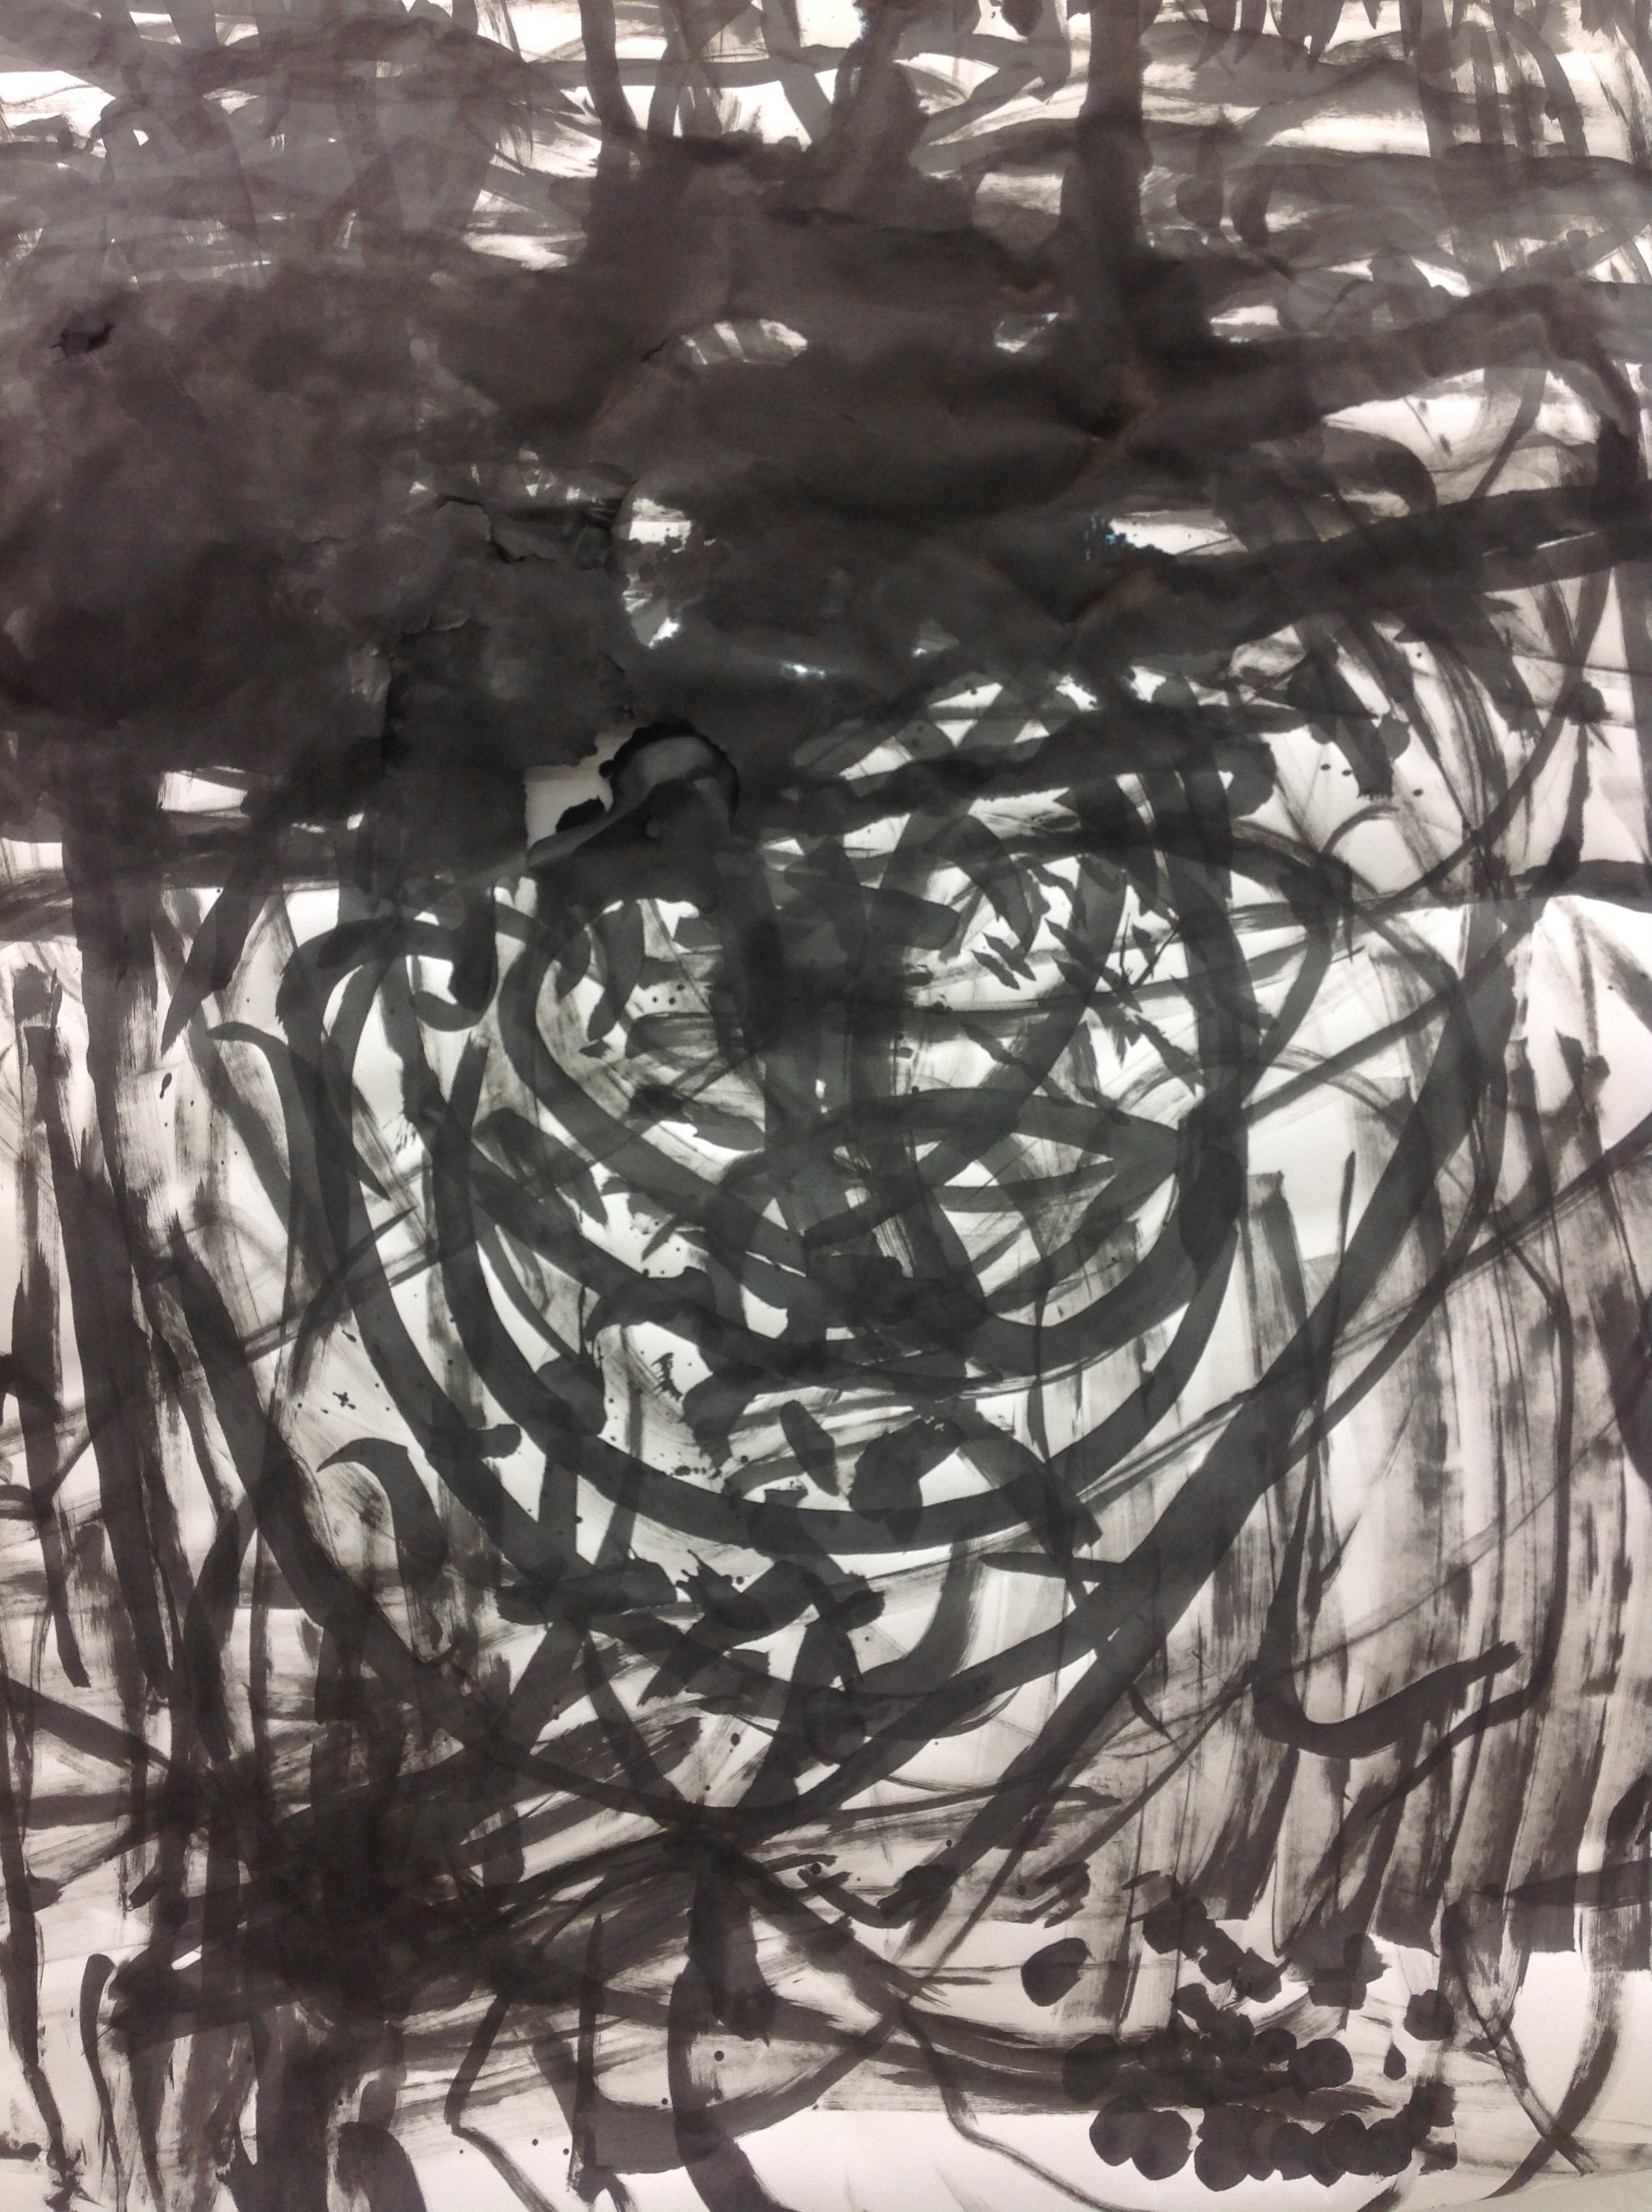
In the early stages of my experimentation this morning I started out with a cheap student grade India Ink. This is the type that comes in a huge bottle, it is not waterproof nor does it ever get black black. I quickly discovered this and switched to my Winsor & Newton Black Indian Ink, this product is water proof and yields a deep dark black. I found it made a world of difference using the quality brand.

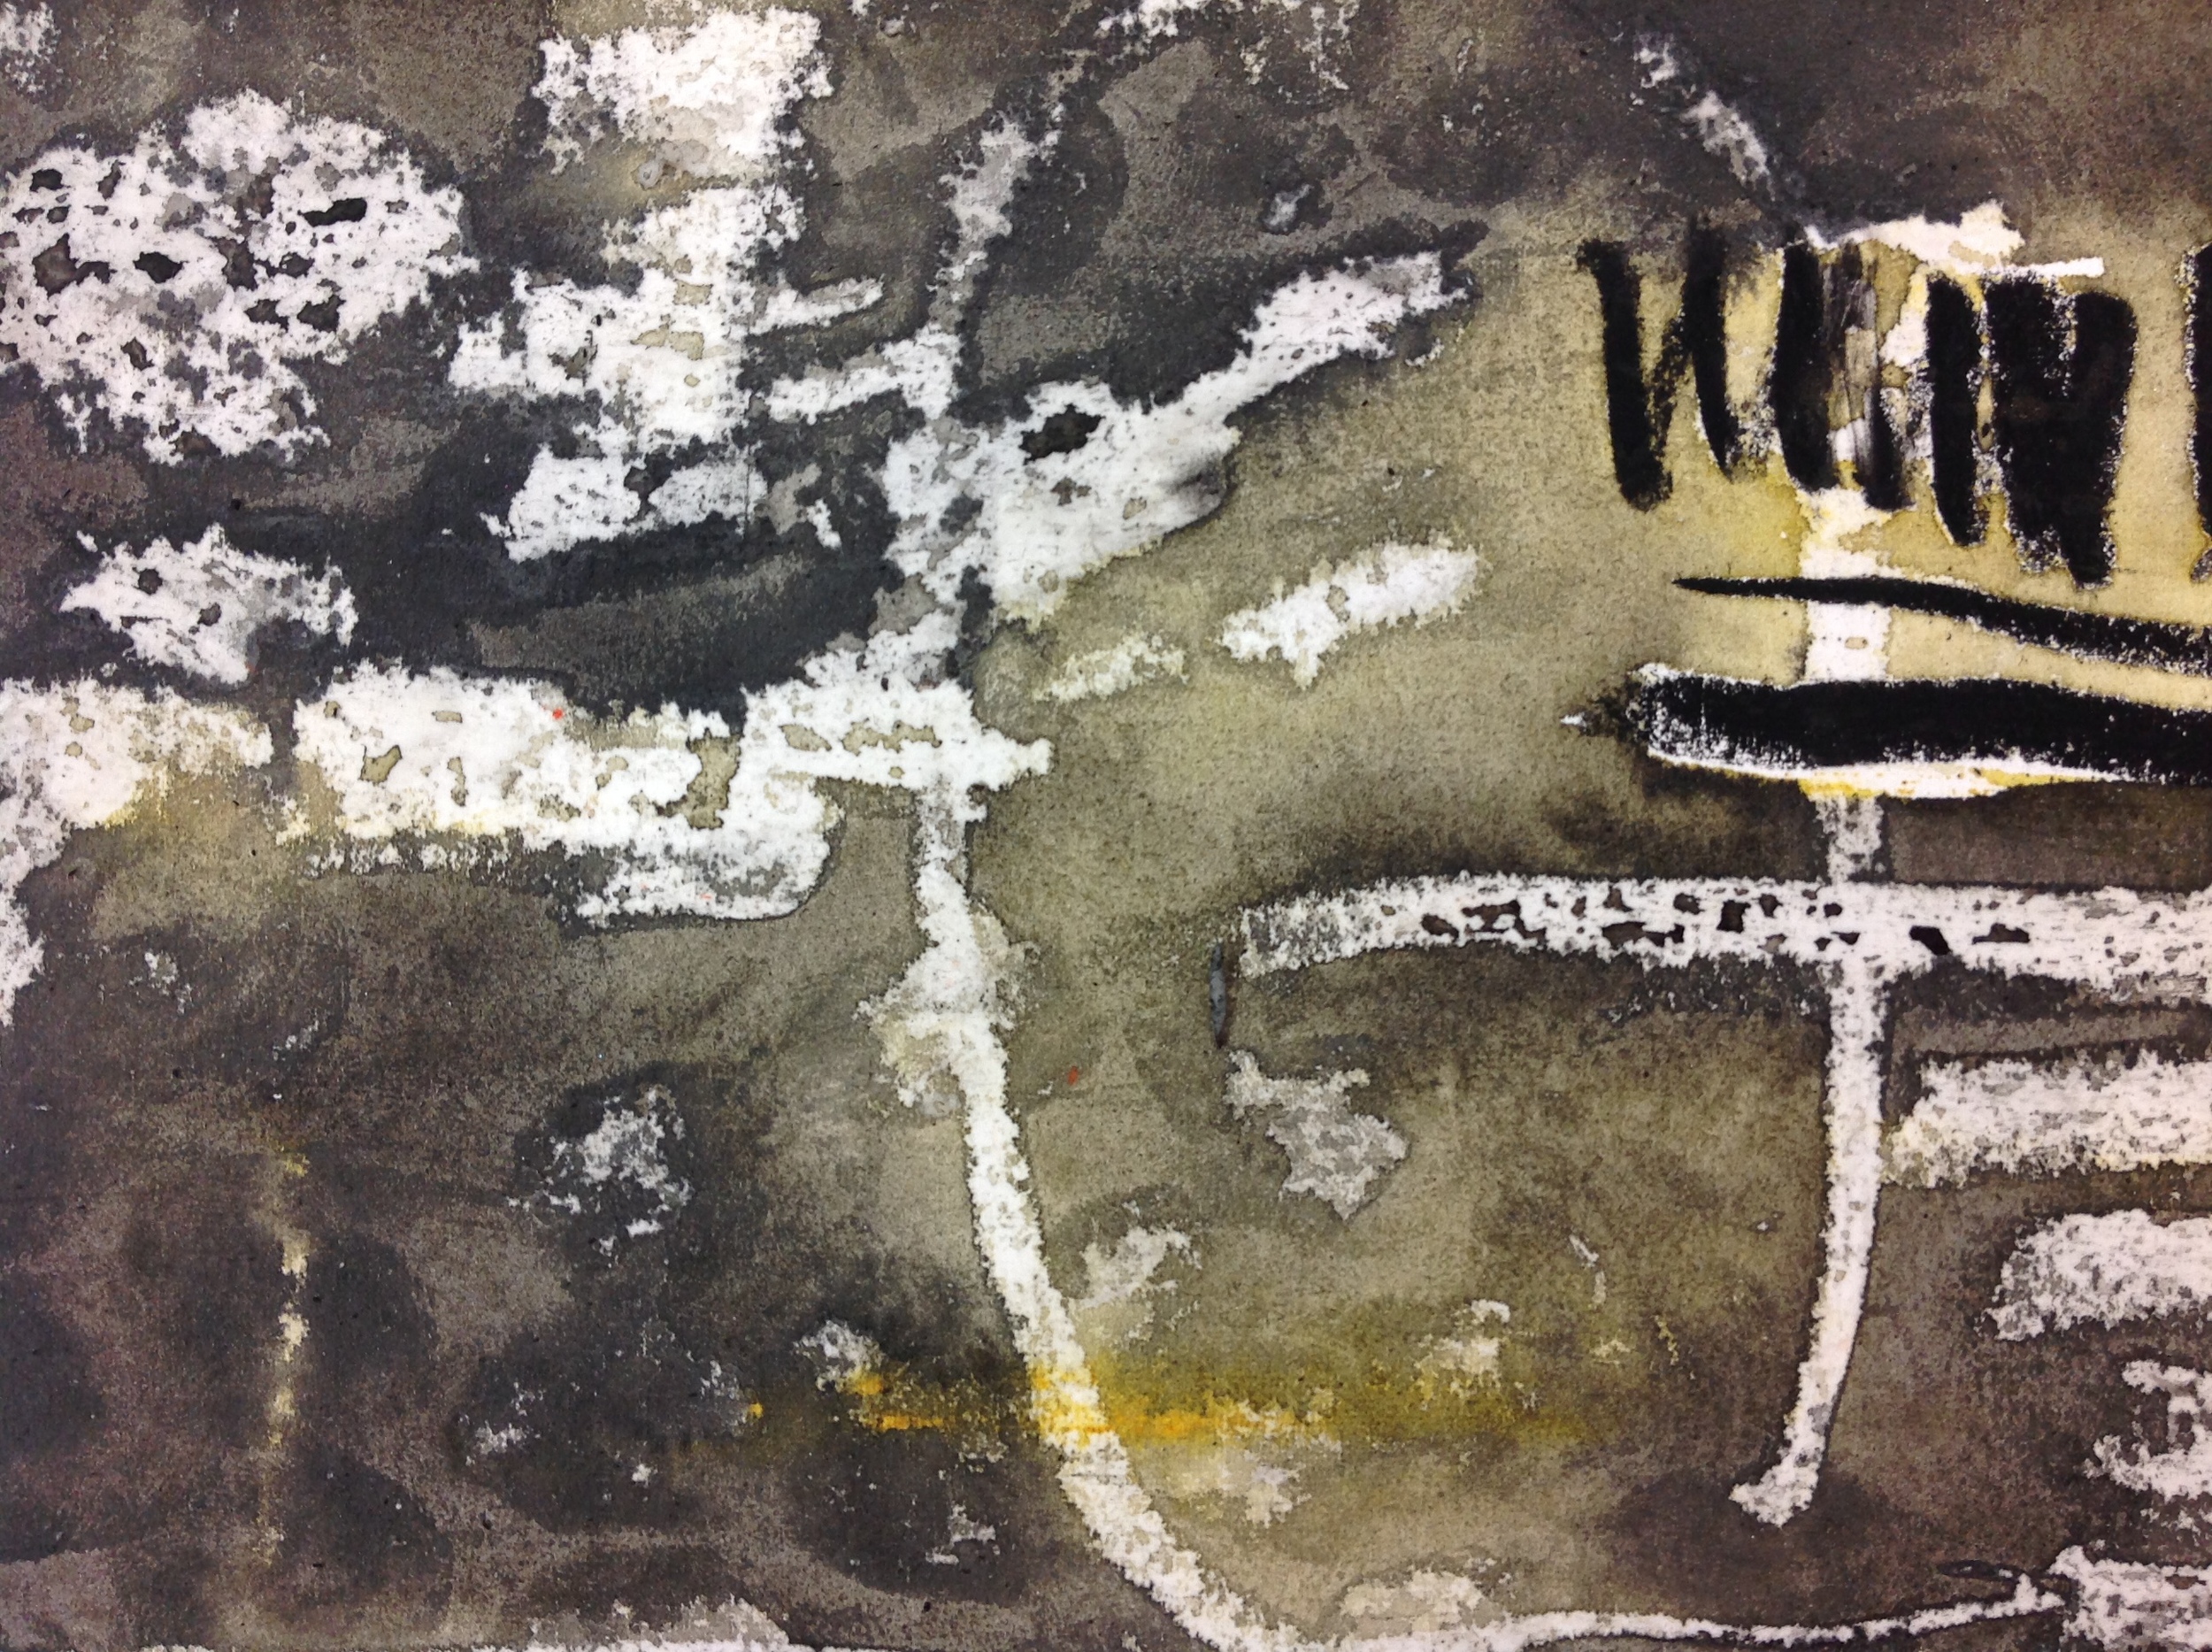
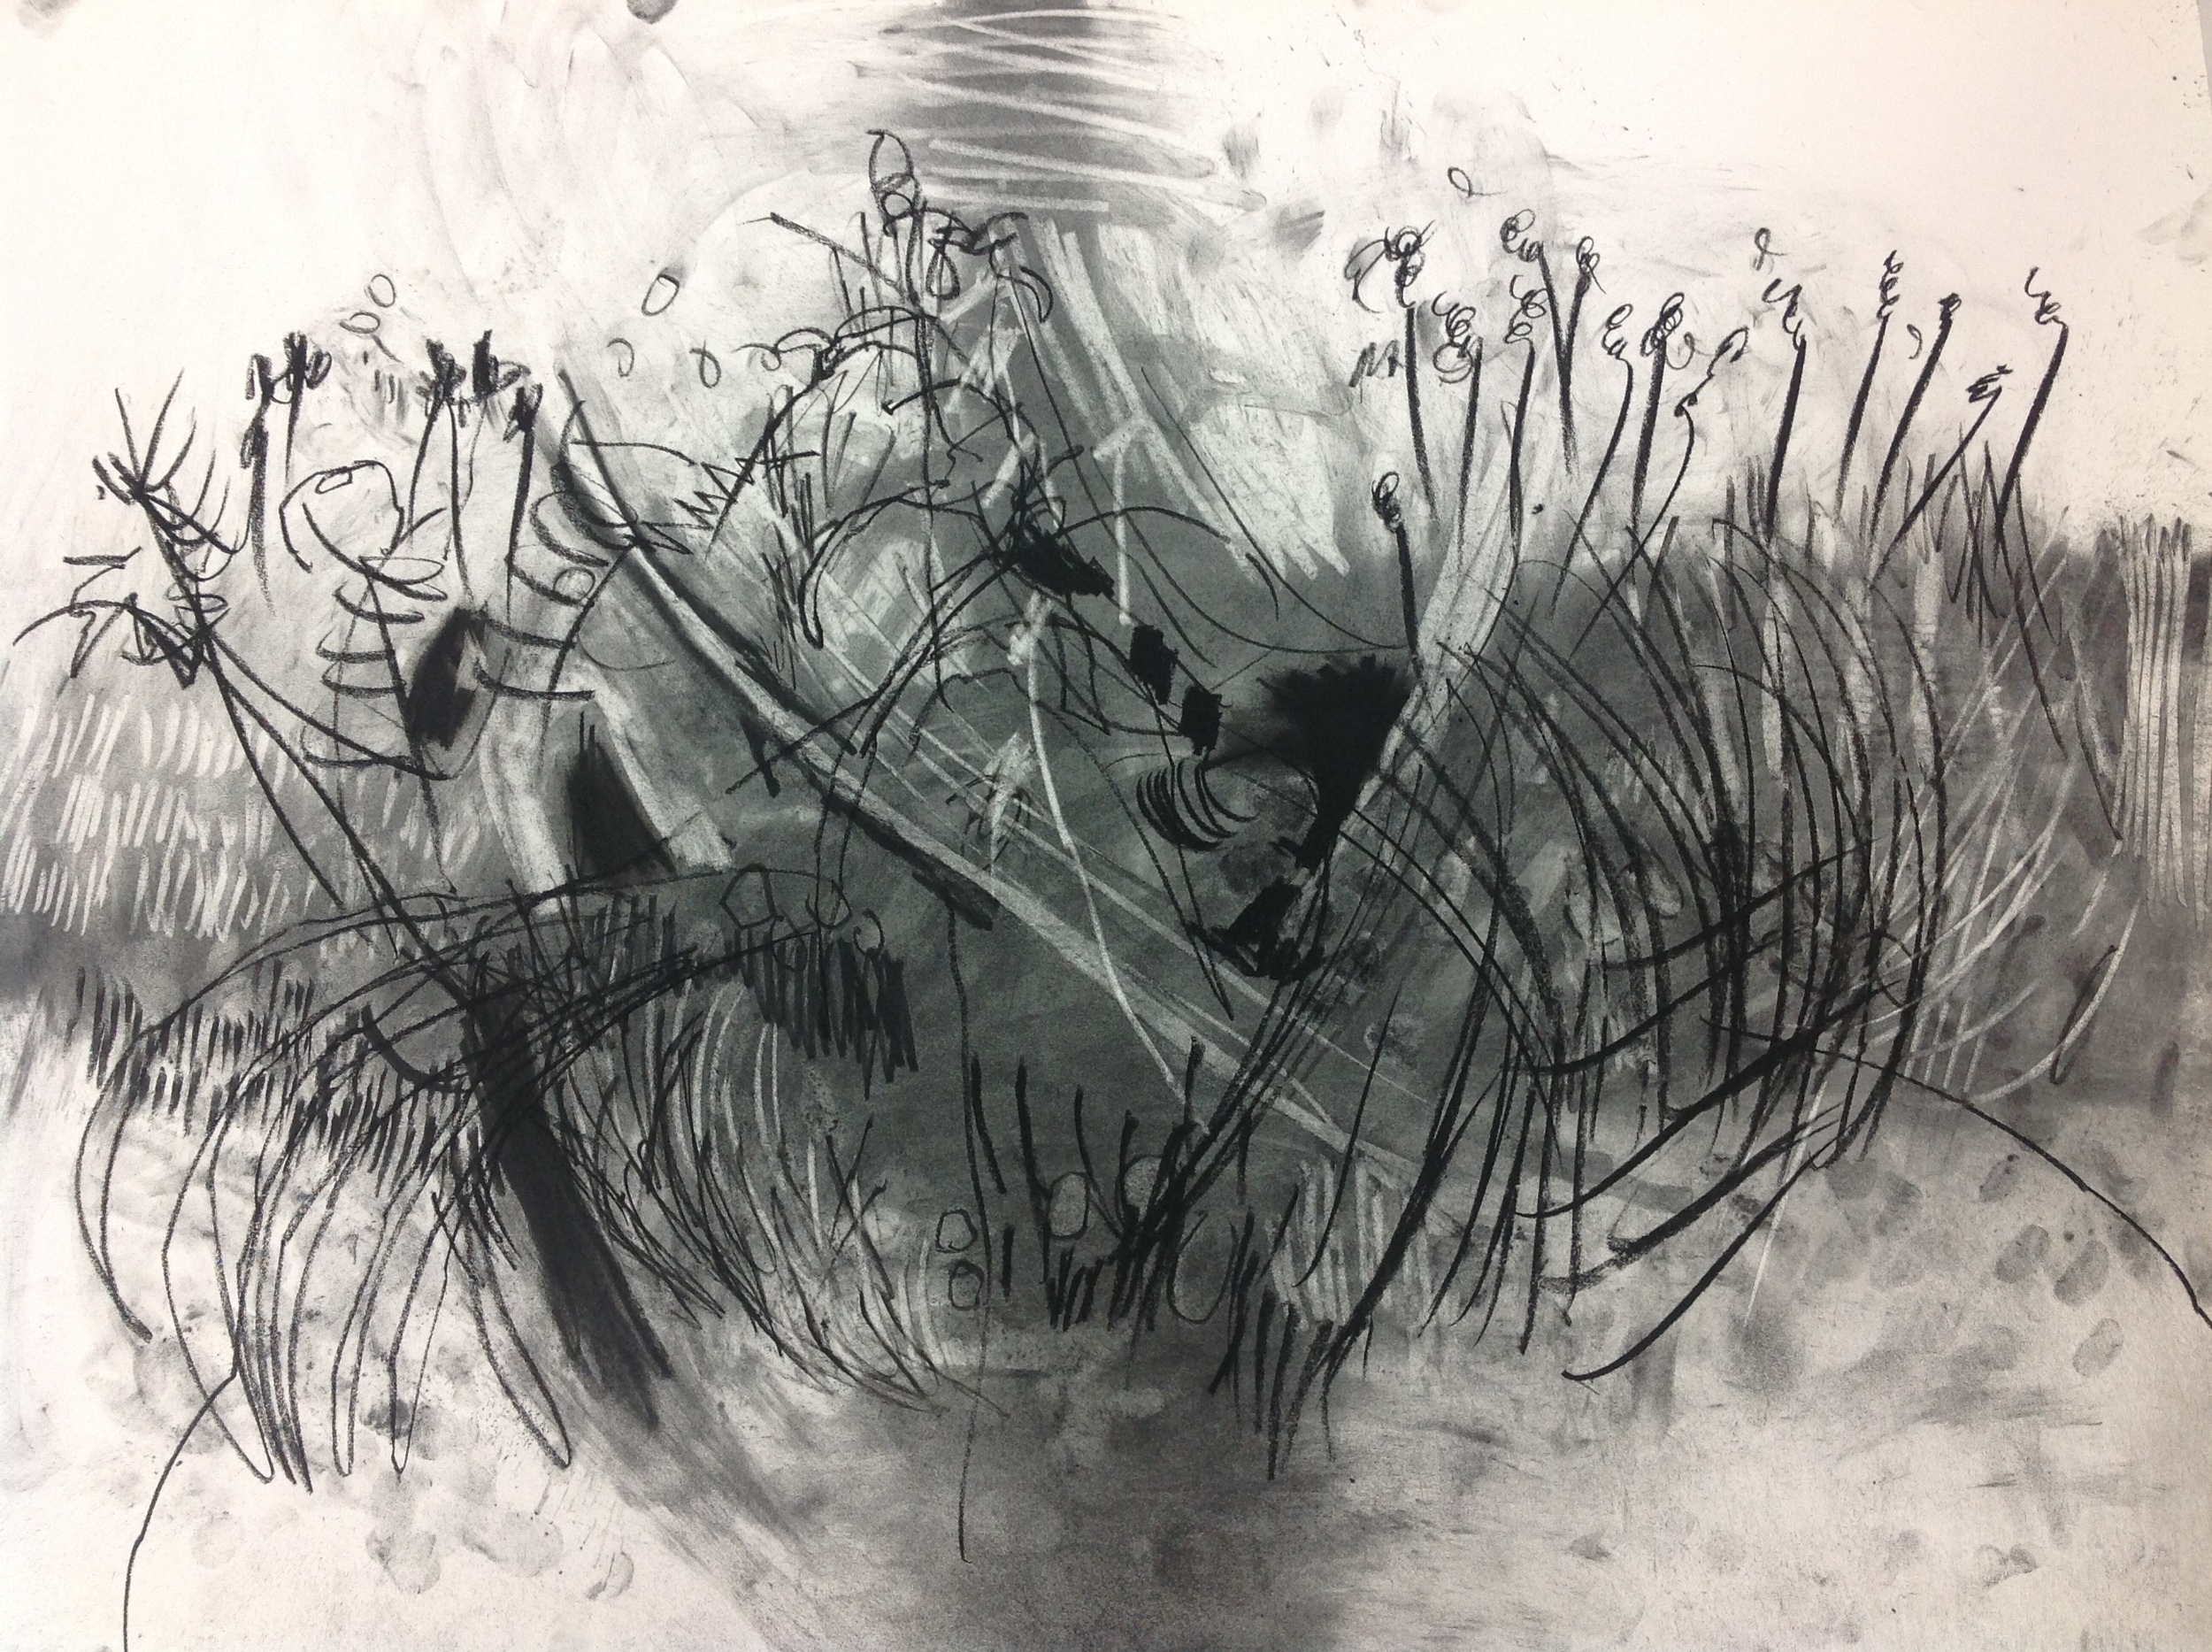
I sometimes laid down a watercolour wash first on top of the wax resist, I let that dry and then came in with the India ink. I would always start with a watered down version and build up to a darker value.

Paper makes a difference as well, one that isn't as absorbent like a Stonehenge shows crisper white areas. BFK Rives is more absorbent, it had good results but somehow the wax gets a bit more covered over with the watercolour or ink than when it is on the harder Stonehenge paper.  Play around with both to see what you like the look of best. 

I have to put more time in to this wax resist technique, I didn't get the look I was after today. I discovered what looked best to my eye was to make marks repeatedly over the entire page, as a way to generate a pattern. Strong contrast with the India ink is very important.

Making Marks through Actions

Smoking paper

Drawing on top of smoked piece

Smoked piece

Smoked piece

Burning holes

Scoring, Cutting, Puncturing, Piercing, Incising, Rubbing, Frottage, Hammering.

Making Marks with Found Tools


Marks with Found Tools  

Twigs, pine cone, Day Lily seed head, stick, branch, moss, carved tongue depressor,  3/8" sponge applicator, bamboo skewer, mat board edge.

IMG_3244.JPG

All the marks in the piece above were done with the 3/8" sponge applicator

All the marks above were made with the bamboo skewer. I was amazed at how long the ink lasts without having to dip into it again.

MAKING MARKS

 New Directions

Over the next several weeks I will be exploring mark making in order to create a new lexicon for my art practice. My intention is to develop a new new series from this exploration..

Physical movement and large gestural strokes

Taping a sponge brush to a long handle and working outside with the paper on the ground, I dipped the brush into India Ink, employing the gesture of my body to create marks. I wasn't thinking but just allowing to let what would happen lead me on to the next set of marks and brush strokes. Usually I would use a synthetic brush for this but trying to get out of my comfort zone I forced myself to use a sponge brush, something I would not choose for his type of challenge.

22" x 30 " India ink on paper

48" x 60" India Ink on paper


Direct Marking using Hands and Tools

In this piece. while standing I poured powdered charcoal on my paper, using my fingers and sometimes a chamois I rubbed the powder in here and there. Using an eraser I removed areas creating white lines and shapes. I created marks on top using a variety of charcoal sticks. Inspired by the plants in my garden, I quickly drew gestures of plant forms. I used the movement of my whole body not just my wrist. I worked quickly - not over thinking this exercise.

22" x 30" Charcoal on paper


Finger Printing - direct marking using my pointer finger

Using only my pointer finger I created all the marks below.. My goal was to see what I could do with just one finger tip. I varied pressure, position, angle…side, top, tip, whole pad…etc. very cool.

14" x 30"  India Ink and pointer finger on paper